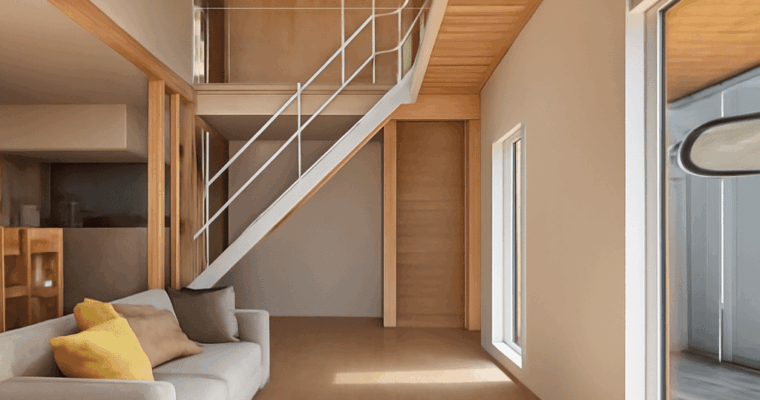
From Traditional Japanese House Layouts to Modern Japanese Architecture
Learn how a traditional Japanese house layout uses genkan, tatami rooms, sliding partitions, and garden edges—and how modern Japanese architecture reworks these ideas.
Learn how a traditional Japanese house layout uses genkan, tatami rooms, sliding partitions, and garden edges—and how modern Japanese architecture reworks these ideas.
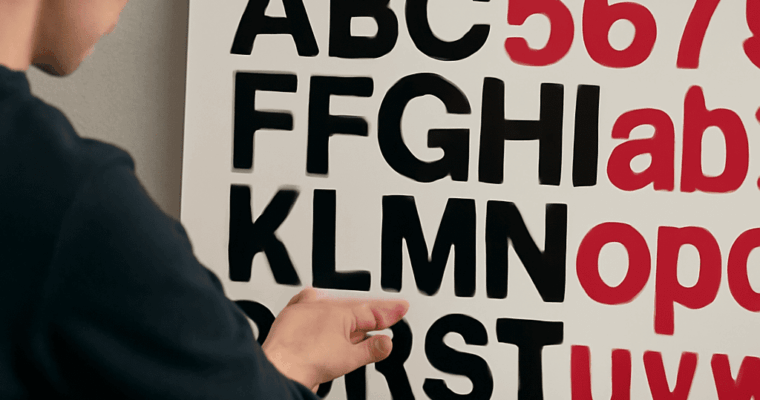
Swiss Style graphic design explains how modular grids, sans-serif type, spacing, scale, and objective photography create clear communication—and how the method became the International Typographic Style.

Hanging artwork successfully starts with the relationship between the work, the room, and the people using it. Choose the visual height first, then plan the composition and select support that matches the frame’s weight and the wall’s construction.
This measured approach to hanging artwork works for one frame, a pair, or a full gallery-style group. It also prevents common problems such as artwork that feels too high, uneven spacing, or hardware that cannot safely support a glazed frame.
There is no universal eye-level formula. A standing viewer may suit a center point around 57 to 60 inches from the floor, but the correct position changes with the room’s sightlines and furniture.
For a gallery-like effect, use the group’s overall center as the visual target. The outer edges, rather than each individual frame, should relate to the wall, furniture, or architectural opening.
Measure each frame’s width and height, including the frame rather than only the artwork. Record the location of every hanger on the back. For a group, also decide the intended spacing; 2 to 4 inches between frames is a useful starting range, while larger works may need more breathing room.
Do not estimate spacing by eye once the layout is approved. Measure the gap between frame edges, not between the nails or the centers of the pictures. If one frame is much larger, use its visual weight to balance the group rather than insisting on identical dimensions.
The correct support depends on both the frame and the wall. Check the frame’s actual weight, including glass, backing, and any mounted object, then choose hardware with a stated load rating comfortably above that weight. Ratings are not interchangeable across wall types.
Common frame hardware includes sawtooth hangers for light frames, D-rings for more stable two-point support, picture wire for flexible positioning, and French cleats for large or heavy work. Wire must be attached securely at both sides and assessed at its tightened hanging position. Large, heavy, glazed, fragile, or unusually mounted pieces may require a professional installer and two-person lifting.
Once the templates are positioned, transfer the required attachment points rather than placing a fastener at the frame’s apparent center.
For a group, measure from one fixed reference, such as the wall’s left edge or the center of a furniture piece, rather than measuring each frame from a previous frame. This limits accumulated errors.
Install the anchors or screws according to their instructions, keeping the drill straight and avoiding electrical or plumbing lines. Lift large frames with a second person. Set the frame onto both support points, then step back to inspect it from the room’s normal viewing positions.
Use a small spirit level across the frame or along its top edge. For wire-hung work, the frame may shift as the wire settles, so level it after the full weight is on the support. Check that pairs share the intended alignment, group spacing remains consistent, and the lower edge still relates correctly to the furniture.
If the work looks too high, crowded, or disconnected, reassess the visual relationship before moving hardware. A few inches can change the composition, but a new mark should still be measured from the frame’s actual attachment-point offsets.
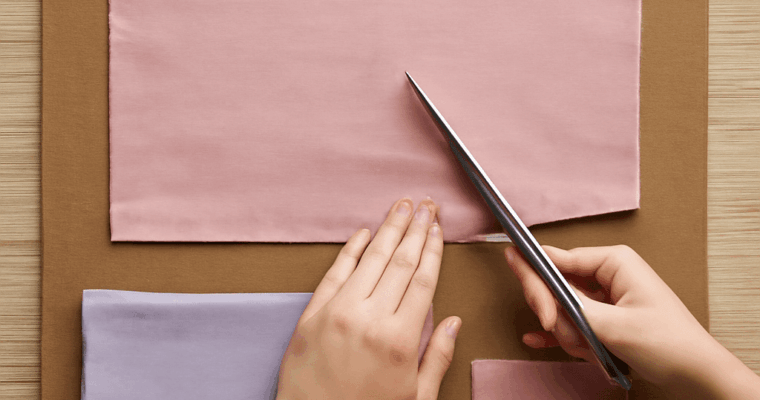
A fat quarter is usually about 18 by 22 inches in U.S. quilting cotton, but usable size can vary. See how it’s cut, how it differs from a quarter yard, and what to measure before sewing.

Graffiti artists use tags, throw-ups, pieces, stencils, characters, and murals to communicate. Learn how artistic and cultural value differs from permission, property damage, and local law.
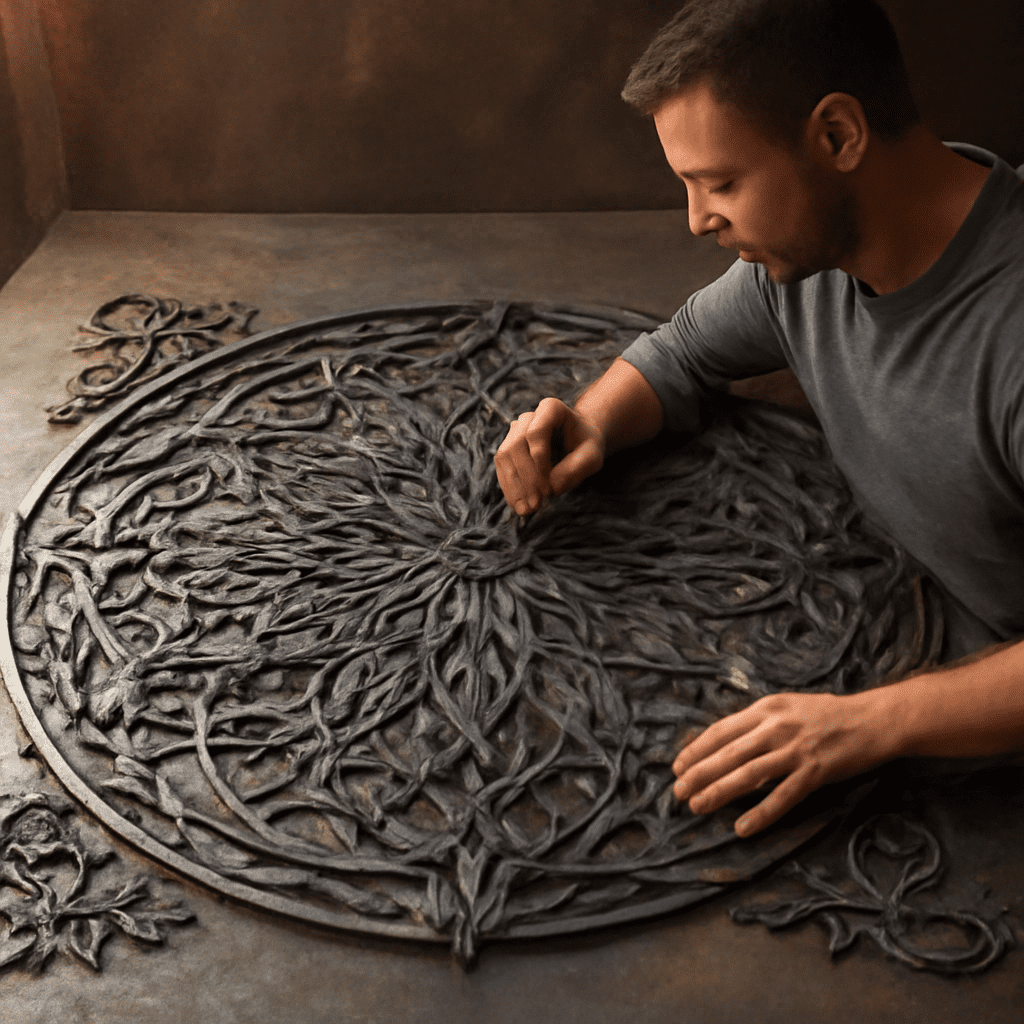
Stained glass designs become workable window patterns when visual ideas are organized around the way glass is cut, joined, supported, and seen in changing light. A strong pattern is not only attractive on paper: every line must identify a joint, every piece must be practical to cut, and the completed panel must remain stable.
The process moves from composition to construction. You study line, color, light, scale, and negative space, then convert those decisions into a measured cartoon with defined pieces, borders, and structural supports.
A successful design balances five connected elements: composition, piece shape, joining lines, color, and support. Composition controls where the eye travels. Piece shape determines whether the panel can be cut and assembled. Joining lines create the visual rhythm associated with leaded or foiled glass. Color responds to both the design and the light passing through it. Support keeps the finished panel from sagging or breaking.
Geometric stained glass designs often begin with repeated squares, diamonds, arcs, or radial divisions. Their strength comes from consistent spacing and deliberate symmetry. A botanical design may use a stem as a primary lead line, with leaves and flowers branching from it. In a figurative panel, the outline of a face, hand, or garment must remain recognizable while the internal lines simplify complex forms into cuttable pieces.
Prairie-style designs show how restraint can become a defining feature. Broad horizontal and vertical divisions, stylized flowers, and a controlled palette create order without requiring intricate detail. In each approach, a decorative outline is only a starting point. If a shape creates a fragile sliver, an awkward point, or an unsupported area, the design needs revision before it is called a fabrication pattern.
Scale also changes the design. A small panel may need fewer, larger pieces because narrow strips are difficult to handle. A larger window can support more divisions, but it may require reinforcement. Design decisions should therefore be tested against the intended dimensions, construction method, and viewing distance.
When studying stained glass window patterns, begin with the line structure rather than the surface decoration. Lead or foil lines separate pieces, describe forms, and provide visual weight. A heavy border can contain a busy center, while thinner internal lines can preserve detail without overpowering the composition. Lines that stop abruptly or create tiny isolated pieces usually deserve scrutiny.
Look for a hierarchy of lines. Primary lines might define the outer frame, a figure’s silhouette, or the main stem of a plant. Secondary lines divide leaves, petals, clothing, or background shapes. Repeated angles and curves should feel intentional. A geometric panel depends on alignment; a botanical panel depends more on flowing movement; a figurative panel needs lines that support anatomy and expression.
Color should be considered as groups, not as isolated swatches. Identify the dominant color, supporting colors, and accents that attract attention. A red flower placed at the center will draw the eye, while small repeated accents can distribute that emphasis. Compare adjacent pieces for value as well as hue: two different colors with similar value may visually merge when light passes through them.
Light changes the result. Transparent glass may become vivid in direct sunlight but quiet in shade. Opalescent or streaky glass can obscure a narrow detail, so important forms need enough area and contrast to remain legible. A useful study is to make a small color thumbnail, hold it near a bright window, and check whether the focal point, major divisions, and open spaces still read clearly.
Beautiful stained glass depends on controlled irregularity. Natural variation in glass adds life, but random color changes cannot repair a weak composition. Keep the main value pattern clear before selecting expressive textures or specialties.
Use this sequence to turn a concept into a practical pattern:
A useful stained glass drawing includes enough information for another person to understand the intended assembly. Keep the original cartoon intact, then make a separate pattern copy for cutting templates. This preserves the centerlines and dimensions if a piece must be redrawn.
The border is both a visual frame and a construction zone. Make it wide enough to accept the chosen edge treatment and strong enough to protect the interior pieces. A narrow border may look elegant in a sketch but leave little material for trimming, fitting, or attachment. Check that corner joints meet cleanly and that the interior lines do not collide awkwardly with the frame.
Review every cut line at full size. Pieces should have shapes that can be transferred, cut, grozed, and fitted without excessive force. Replace fragile points with broader transitions where possible. Break a large area into pieces when doing so improves stability or color control, but do not add lines merely to make the pattern look detailed. Each additional joint affects cutting time, fitting, soldering, and the final visual texture.
Then mark the support structure. Small panels may rely on a rigid perimeter, while larger or unusually shaped panels can need reinforcing bars, intermediate supports, stronger came, or a division into separate sections. Supports should follow sensible structural paths and connect securely to the frame. Avoid placing a bar across the most important facial feature or flower unless the composition has been designed around it.
Before cutting glass, check the pattern against this final list:
If any answer is uncertain, revise the cartoon rather than improvising after the glass is cut. A pattern is fabrication-ready only when its visual decisions, piece shapes, joining lines, scale, and support structure agree.

Explore craft hobbies by material, workspace, tools, mess, portability, and pace. Compare textiles, paper, clay, beads, leather, wood, and book arts to choose a satisfying beginner practice.

Restaurant interior design turns a concept into a working guest experience. Learn how cuisine, price point, service model, layout, seating, light, sound, and materials shape a memorable room.

For a first small modeled sculpture, choose air-dry clay if you do not have a kiln, polymer clay if you want a durable small object, or water-based ceramic clay if firing is available. These sculpture mediums are pliable, relatively inexpensive, and forgiving while you learn proportion and surface control.
Match the material to your project before you begin. A small, compact form may need no internal support, while a standing or outstretched figure usually needs a wire-and-foil armature. The material also determines the tools, finish, drying or curing time, and whether the finished sculpture is temporary or permanent.
Choose a sculpting medium by comparing four practical factors:
For beginners, modeling media are usually the simplest starting point because they let you add and remove material repeatedly. Carving, casting, and construction become more practical when you already know the form you want or need a larger, stronger, or more weather-resistant result.
A medium is the principal substance or artistic means used to make the sculpture, such as clay, wax, wood, stone, plaster, or bronze. “Sculpting medium” and “sculpture material” are often used interchangeably in casual conversation, but material can also mean a supporting or secondary component.
For example, clay may be the medium, aluminum wire the armature material, and modeling the technique. In another project, wax may be modeled into a pattern, plaster or silicone may form the mold, and bronze may become the final cast sculpture.
The techniques are not interchangeable:
Water-based clay is the standard choice for a modeled sculpture intended for ceramic firing. It is easy to shape with hands and wooden or metal tools, and slip can join pieces. Larger forms need an armature or hollow construction. Once fired, the result is durable, although it can crack during drying or break if thin and unsupported.
Air-dry clay needs no kiln and works well for a first project. It can be pressed over foil, scored and joined, textured, painted, and sealed after it dries. It is convenient rather than fully permanent: moisture, impact, and thin projecting parts can damage it. Keep thick areas hollow or supported and follow the product’s drying limits.
Polymer clay stays workable until it is cured in a household oven. It suits small, detailed pieces and needs little support beyond foil or wire inside larger shapes. It produces a durable, water-resistant object when baked correctly, but overheating can discolor or weaken it. Use the temperature and time printed by the manufacturer.
Oil-based clay, plastilina, and wax remain reusable or semi-permanent. They are excellent for studies, animation, and patterns for casting because they do not air-dry. Wax can be softened with gentle heat and shaped with loop tools, heated tools, or carving tools. These materials need a stable work surface and are usually not the final outdoor sculpture.
Paper pulp and plaster can also be modeled over an armature. Paper pulp is lightweight and inexpensive but needs thorough drying and protective paint or sealer. Plaster sets quickly, can be carved after hardening, and creates a rigid form, but it is brittle and gives less time for correction than clay.
Wood is carved with knives, gouges, rasps, and sanding tools. Soft woods such as basswood are more approachable than dense hardwoods. The grain provides visual character, but it also controls the direction of cuts. A finished wood sculpture can be durable indoors or outdoors when sealed and maintained.
Stone is shaped with chisels, mallets, rasps, and abrasives. Soapstone and alabaster are relatively workable; granite and marble demand more force, time, dust control, and specialized tools. Stone needs no armature and is highly permanent, but mistakes cannot be undone, so begin with a clear block-in plan.
Plaster, resin, concrete, and bronze are commonly used for casting. Casting requires a finished pattern, a mold, and careful preparation; it is not simply another form of modeling. Plaster is affordable but fragile, resin captures detail and is lighter, concrete is strong but heavy, and bronze is highly durable but requires foundry equipment and professional handling.
Construction materials include cardboard, paper, wire, wood, fabric, found objects, and sheet metal. They are cut, bent, layered, tied, glued, screwed, or welded rather than shaped as one continuous mass. This approach is useful for geometric, lightweight, or recycled sculpture, but the joints and adhesives often determine its strength and permanence.
For a manageable first project, make a compact bust, animal, or abstract form about 15 to 20 centimeters tall. Gather roughly 500 to 750 grams of clay, a board, a bowl of water if using water-based clay, basic modeling tools, foil, and thin aluminum wire if the form needs support.
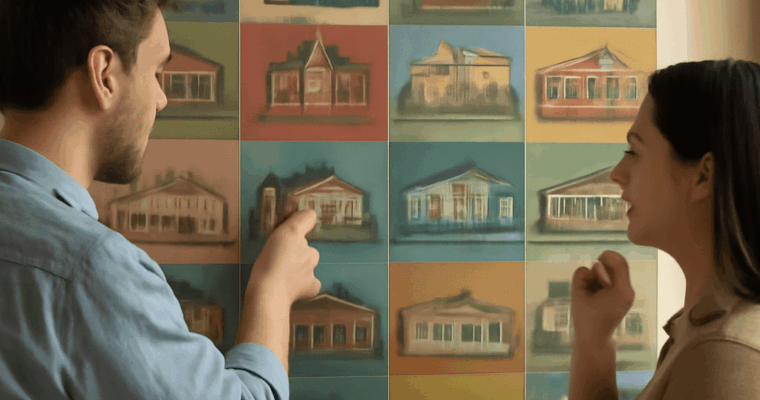
Architectural design styles made practical: read form, roofs, windows, materials, structure, and ornament. Recognize different styles of architecture without forcing a label.