How to Draw a Simple Flower From Circles and Curves
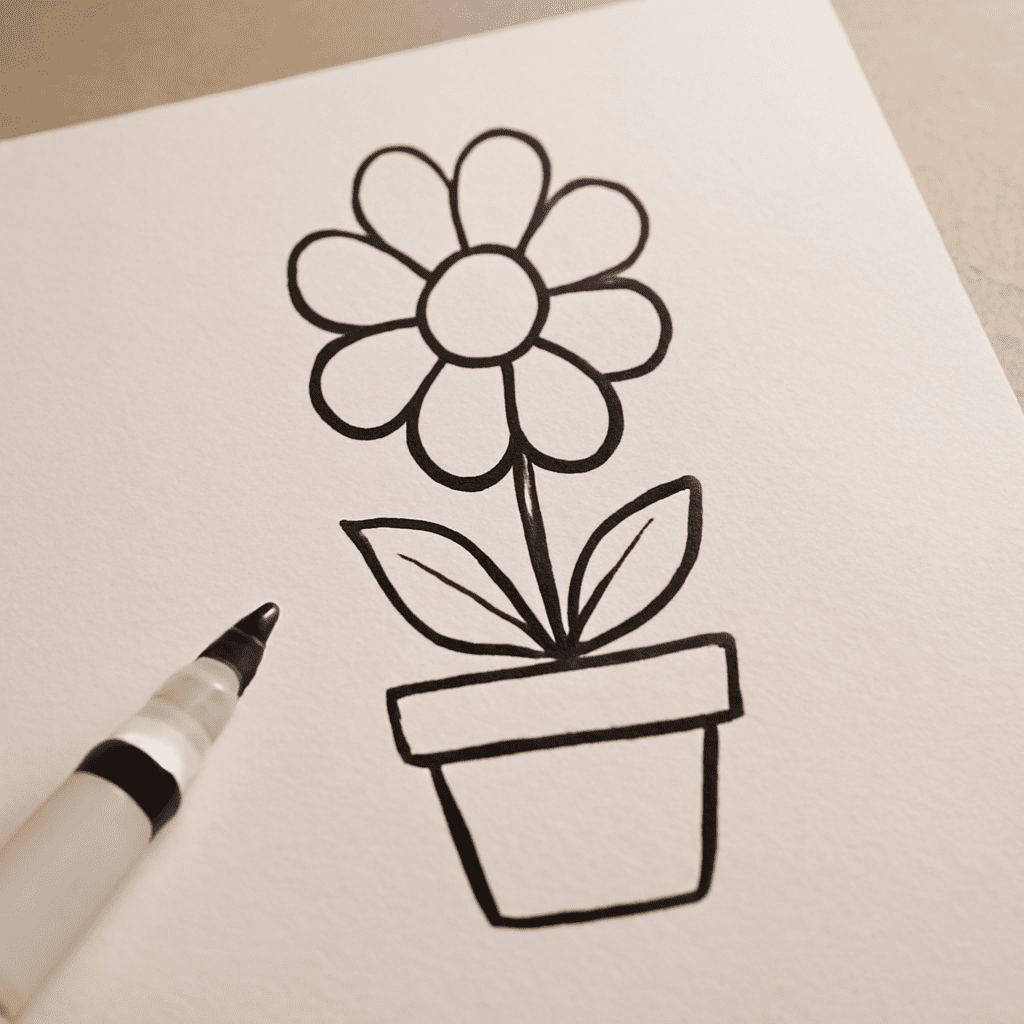
A flower can begin with two circles and a handful of curved lines. A beginner learning to draw a simple bloom can use those guides to place the center and petals before worrying about the small details that make each flower distinctive.
This exercise builds a front-facing, daisy-like flower in pencil, then adapts the same idea to a tulip. A sketch of a single flower is enough to practice proportion, spacing, and the connection between the bloom and its stem.
Sketch of Flowers: Gather a few supplies
Use plain paper, an ordinary graphite pencil, and an eraser. A real flower or a photograph can provide a reference, although the first study can be imagined. Keep the pencil lines light enough to erase; a relaxed grip makes it easier to change a shape without leaving a deep groove in the paper.
Before drawing, notice the overall silhouette. Does the flower face forward or tilt to one side? Is its center wide or small compared with the petals? For this first example, imagine a round center surrounded by eight broad petals. This simple bloom is easy to draw while observing how the parts fit together.
Place the center and outer guide
Near the top half of the page, draw a small circle about the width of a fingertip. This is the flower’s center. Around it, draw a larger, faint circle roughly three times as wide. The space between the circles will hold the petals, while the outer edge gives their tips a common boundary.
A light vertical line through the center and a horizontal line across it divide the large circle into four sections. These guides help judge the bloom’s balance. Leave enough room beneath the circles for a stem and leaves.
To understand how to draw a simple flower, compare the small circle with the larger one before adding details. A very large center leaves little room for petals; a smaller one gives the petals more length. Erase and adjust either circle until the proportions suit the imagined flower.
Add petals around the center
Start at the upper edge of the small circle. Draw a long rounded loop out toward the outer guide and back to the center. Add another loop below, then one on each side. These four petals establish the main directions, like the points of a compass.
Fill the spaces between them with four more petals. Let the sides meet at the center and let the tips approach the outer circle. If two petals overlap, stop the line of the rear petal where it meets the front one; a small interruption gives the flower a sense of depth. The petals can vary slightly in width and curve, while still belonging to the same overall shape.
One lesson in how to draw an easy flower is to check the spaces between petals as well as the petals themselves. If a gap is much wider than the others, move one outline lightly before darkening it. A pencil flower sketch can remain open and airy; every edge does not need a heavy line.
Connect a stem and leaves
From beneath the center, draw a gently curving line downward. Add a second line alongside it, keeping the distance between the two fairly even. Bring both lines toward the base of the bloom so the stem appears attached rather than floating behind it.
For a leaf, draw a curve outward from one side of the stem to a point, then return to the stem with a second curve. Add a shorter leaf on the opposite side. A faint line from each leaf’s base toward its tip suggests a central vein. Let one leaf sit slightly higher than the other to give the plant an easy rhythm.
At this stage, the sketch of flowers can remain a single stem or become a small group. To learn to draw flowers as a group, place a second, smaller bloom higher on the page and angle its stem toward the first. Leave a little space between the heads so their outlines are easy to read.
Refine the drawing
Erase the large guide circle and the crossing lines where they are no longer needed. Strengthen the edges of the center, petals, stem, and leaves with a more confident line. A few tiny dots in the center and short lines near the base of some petals add texture without covering the whole surface.
For a simple approach to drawing a flower with a little volume, shade lightly on one side of the center and beneath an overlapping petal. Use short, gentle pencil strokes that follow the curve of the form. Leave the opposite side pale so the difference can be seen. If the shading grows too dark, lift a little graphite with the eraser.
Try the same construction with a tulip
A tulip offers another easy flower to draw from basic shapes. Begin with a shallow U-shaped cup instead of the two circles. Add a softly curved top edge, then draw two long, overlapping petal shapes inside it. A single curved stem and two long, pointed leaves complete the study. Comparing the two flower sketches shows how changing the outer guide changes the character of the bloom.
Learning how to draw a simple flower is also a lesson in checking the whole shape. If the daisy seems to lean unintentionally, compare the distance from its center to the tips on both sides and check whether the stem meets the center. Lightly redraw the longest petals or shift the stem before strengthening the final outline.