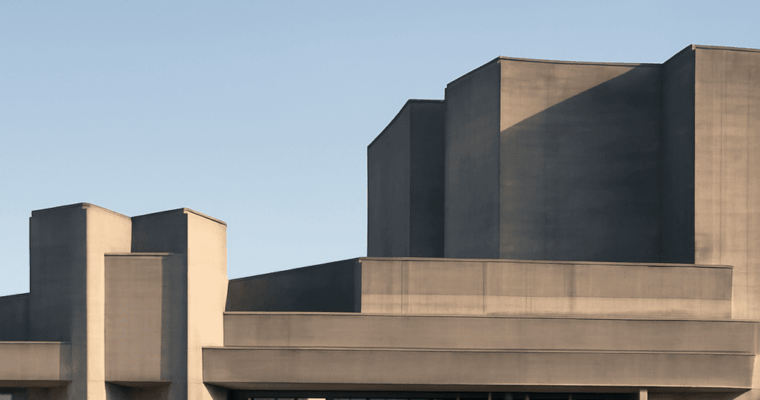
Understanding Brutalist Architecture: A Comprehensive Guide
Explore the definition, characteristics, and examples of brutalist architecture. Learn about its history and influence in modern design.
Explore the definition, characteristics, and examples of brutalist architecture. Learn about its history and influence in modern design.

Kerning vs tracking explained with clear letter-pair and text-run examples. Learn when to adjust tracking, when to kern, and how font, case, size, and output affect spacing.
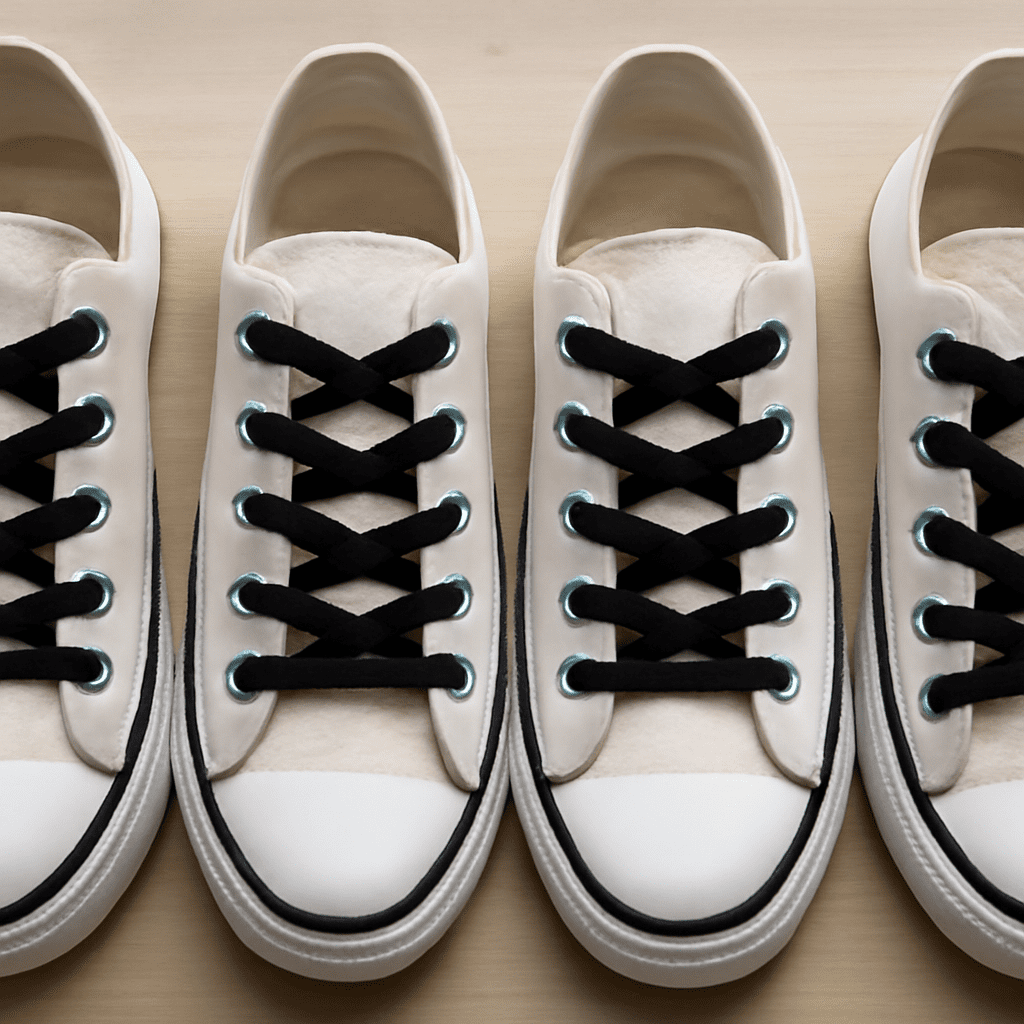
These shoe lace designs turn ordinary eyelets into reversible decorative patterns. For balanced everyday wear, start with straight-bar lacing; choose ladder or lattice when texture and grip matter more than quick adjustment. Star-like and two-tone arrangements create the boldest look but distribute pressure less evenly.
The paths below show exactly where each lace travels, which passes remain hidden, and where the finished tie sits. Use decorative patterns for casual shoes unless they still allow secure, even tightening.
Look down at the shoe and label the wearer’s left side L and right side R. Number each side from bottom to top: the eyelet nearest the toe is 1, followed by 2, 3, and so on. A six-pair shoe therefore has L1–L6 and R1–R6; an eight-pair shoe has L1–L8 and R1–R8.
Unless a pattern says otherwise, begin with both lace ends inside the shoe at the lowest pair. Center the lace so each end has about 15–20 cm available for the final tie. In the paths below, visible means the lace lies on top of the shoe, while hidden means it travels beneath the tongue or along the inside. Pull each pass snug, but do not fully tighten until the route is complete.
Required eyelets: Six pairs. Starting position: Lace ends inside at L1 and R1. Finished tie: The two ends emerge at L6 and R6.
The horizontal bars spread pressure broadly across the instep and give the most balanced tightening of these decorative options. They use a standard amount of lace and open quickly enough for ordinary daily wear. Because the hidden returns limit independent adjustment between sections, slip-on ease is moderate rather than exceptional.
Ladder required eyelets: Six pairs. Starting position: Ends inside at L1/R1. Finished tie: L6/R6.
Ladder lacing uses a moderate amount of lace. Its rails and rungs add friction, so the shoe feels grippier and less likely to loosen, but pressure can collect more at the horizontal rungs than with straight bars. Tightening takes a little longer, and putting the shoe on is moderately easy rather than fast.
Lattice required eyelets: Eight pairs. Starting position: Ends inside at L1/R1. Finished tie: L8/R8.
The lattice creates dense texture and holds firmly through repeated crossings, but it needs more lace than the six-pair patterns. Crossings make pressure less uniform and make quick loosening difficult. Expect slower tightening and slower entry, especially when the shoe is already snug.
Required eyelets: Six pairs. Starting position: Ends inside at L1/R1. Finished tie: L6/R6.
For a two-tone version, use two equal-length contrasting laces: thread one through route A and the other through route B, keeping both starts inside. Tie the two colors together at the top. This creates a dramatic star and makes the contrasting paths easier to see, but it uses extra lace and tightens unevenly. Diagonals can create concentrated pressure, while the crossed center slows entry and removal. Keep this arrangement casual-only; do not use it where reliable even tightening or secure fastening is critical.
For sport, work, hiking, or safety-critical footwear, use conventional lacing that lets you tighten each section evenly and finish with a secure knot. A decorative pattern should never prevent the shoe from holding the foot firmly without pressure points.
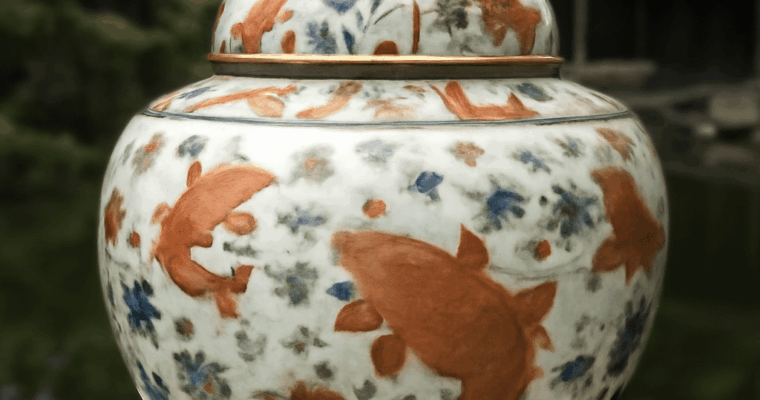
Chinese porcelain is one part of a broader history. Learn how ceramics from China developed through earthenware, stoneware, celadons, white wares, kilns, vessel forms, glazes, and decoration.

Learn how kinetic sculpture uses wind, gravity, motors, magnets, water, and viewers to animate three-dimensional art—and how speed, sound, balance, and chance reshape what you see.
Famous statues across history include radically different objects: prehistoric limestone figures, royal monuments, bronze civic icons, and deliberately ordinary manufactured forms. This representative selection follows how artists and cultures used three-dimensional art to express belief, power, identity, and new ideas about form.
A famous sculpture is not important only because it is recognizable. Its material, setting, subject, and influence explain why it continues to shape the history of sculpture.
Venus of Willendorf: Made by an unknown Gravettian artist in Central Europe, this small limestone figure dates to about 28,000–25,000 BCE. Found in present-day Austria, it emphasizes breasts, abdomen, and hips rather than facial detail. Its portable scale and simplified body make it an important early example of figurative carving, although its purpose cannot be proved as a fertility object.
Great Sphinx of Giza: Ancient Egyptian workers carved this monumental limestone figure around 2558–2532 BCE, probably during the reign of Khafre. Located beside the Giza pyramids, it combines a lion’s body with a king’s head. The union of animal strength and royal identity established a durable model for political and sacred monument-making.
Augustus of Prima Porta: This Roman marble statue, probably produced in the early first century CE after a bronze prototype, shows Emperor Augustus in military armor. Found near Rome and now associated with imperial portraiture, it uses the breastplate’s imagery to present Augustus as a victorious ruler and bringer of peace. Its idealized body helped define Roman state propaganda.
Terracotta Army: Craftspeople working for Qin Shi Huang created thousands of life-size terracotta soldiers around 210–209 BCE for the emperor’s mausoleum near Xi’an, China. Their varied faces, weapons, ranks, and horses suggest both individualized modeling and large-scale organization. The burial complex transformed sculpture into an image of an entire imperial system.
David: Michelangelo carved this monumental marble figure in Florence between 1501 and 1504. The biblical hero stands alert before his fight with Goliath, with a tense expression and controlled contrapposto. Its enlarged hands and head reinforce concentration, while its ideal anatomy made the statue a defining achievement of Renaissance humanism and a civic symbol of Florentine independence.
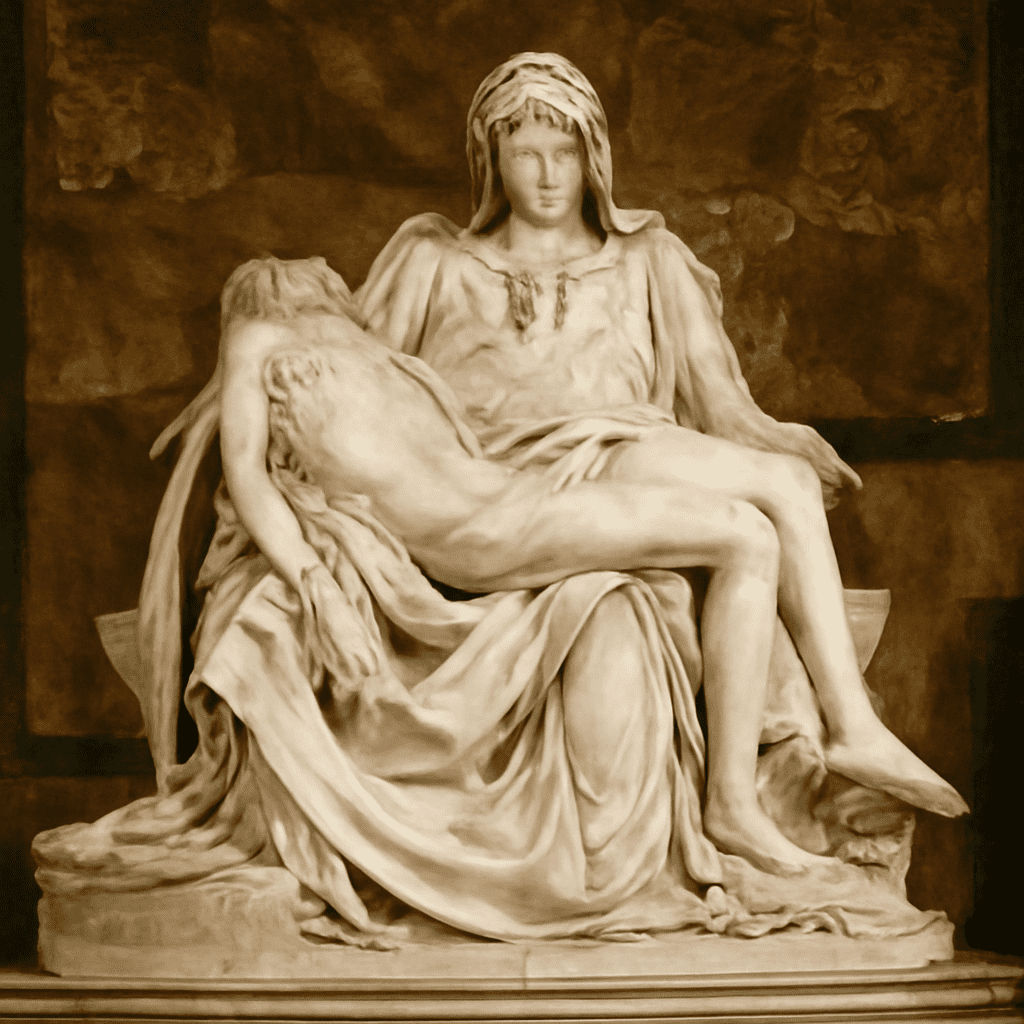
Pietà: Created in Rome around 1498–1500, this polished marble group shows the Virgin Mary holding the dead Christ in St. Peter’s Basilica. Michelangelo fits the figures into a stable pyramid while contrasting Mary’s youthful serenity with Christ’s limp body. The work’s refined surface, emotional restraint, and unified composition became a central model for later religious sculpture.
Moses: Michelangelo carved this marble figure in the early sixteenth century for the unfinished tomb of Pope Julius II; it now stands in San Pietro in Vincoli, Rome. The seated biblical lawgiver grips his beard and turns with contained energy. Horns derived from a Latin biblical translation and the statue’s powerful tension show how Michelangelo made a single figure carry theological and monumental force.
Statue of Liberty: Frédéric Auguste Bartholdi designed this copper repoussé figure, assembled over an iron framework engineered by Gustave Eiffel, between 1875 and 1886. Standing in New York Harbor, the personification of Liberty Enlightening the World holds a tablet and torch. Its scale, industrial construction, and public setting connected sculpture with engineering, immigration, and modern national identity.
The Burghers of Calais: Auguste Rodin modeled this bronze monument between 1884 and 1895 for a public site in Calais, France. It depicts six citizens walking to surrender themselves during the Hundred Years’ War. Instead of presenting one triumphant hero on a pedestal, Rodin gives each figure a distinct psychological response, changing the emotional language of civic monuments.
Bird in Space: Constantin Brâncuși developed this series in Paris from 1923, including highly polished bronze versions. The narrow, rising form reduces a bird to an impression of flight rather than a literal body. Its abstract simplicity helped establish that sculpture could convey movement and essence through reflective surface and vertical rhythm.
Guitar: Pablo Picasso’s 1912 construction in Paris used cardboard, paper, string, and wire rather than carved stone or cast metal. By assembling and cutting materials, Picasso turned a familiar instrument into a Cubist structure of planes and openings. The work helped introduce construction, collage, and mixed media as fundamental modern sculptural methods.
Fountain: Marcel Duchamp presented this manufactured porcelain urinal in New York in 1917 under the name “R. Mutt.” Though the original is lost, authorized replicas preserve its role as a readymade. By selecting and repositioning an ordinary object, Duchamp challenged the assumption that artistic skill, handcraft, and beauty were required for sculpture.
Compare these works through four practical questions:
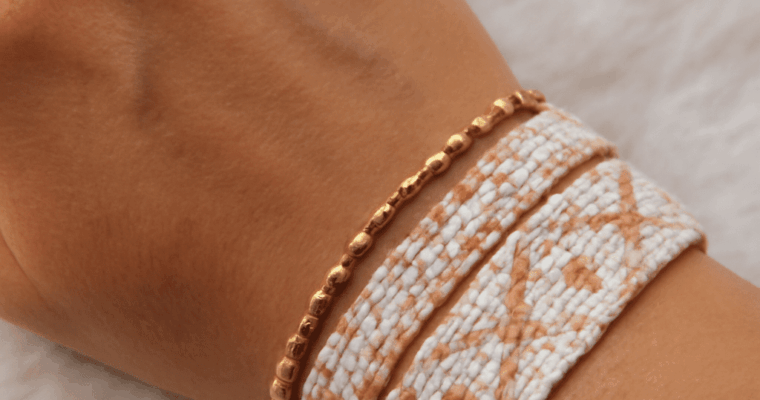
Bead loom designs become easier to read when warp count, bead columns, rows, repeats, and centerlines map clearly. Learn to chart three motifs, keep edges clean, and resize or recolor them.
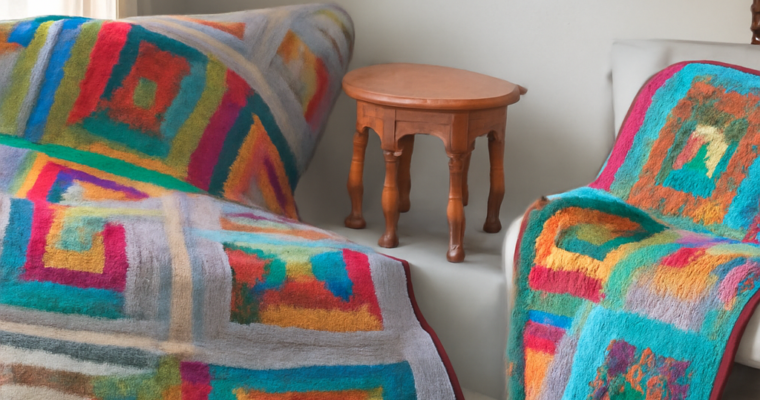
Learn the main types of quilt patterns, from repeated pieced blocks and appliqué to medallions, rows, whole-cloth work, and improvisation—and see how scale, color, and negative space shape each design.

The most reliable blue color combinations start with choosing the blue itself, not its partner. Pale cyan, dusty blue, vivid cobalt, and deep navy create different visual conditions before proportion or contrast is considered. Use the same process for rooms, branding, clothing, graphics, and product styling: identify the blue’s value, saturation, and undertone, then assign supporting, accent, and neutral roles.
These blue palettes show how related hues can remain balanced without making every scheme feel cold, flat, or overly bright.
Value describes how light or dark a blue appears. Light blue, such as airy cyan or powder blue, has a high value and often needs a darker anchor. Dark navy has a low value and usually benefits from lighter surroundings. Mid-value blue, including denim or classic cobalt, is more flexible but can become heavy when used across too much of a composition.
Saturation describes intensity. A saturated cobalt attracts attention and works best with restrained partners. A muted blue containing grey is quieter and can support stronger earthy or warm accents. Combining several highly saturated colors often creates visual competition, while combining only pale colors can remove useful definition.
Do not treat every blue as cool. A blue with a green or cyan undertone generally feels fresher and cooler; a blue with a violet, red, or slightly purple undertone can feel warmer and richer. The surrounding colors also change its apparent temperature. Test a blue beside its intended partner rather than judging a swatch in isolation.
Monochromatic schemes use one blue family across several values and saturations. They are usually the easiest way to create unity. For example:
The light shades keep the first palette open, while navy supplies definition. In the second, the neutral and value changes prevent several dark blues from becoming indistinct. A small amount of a darker accent can do more work than a large block of it.
Analogous schemes add neighbors on the color wheel. Blue-green creates a fresh, natural effect; blue-violet feels more atmospheric or decorative. Keep one hue dominant and let the neighboring hues support it:
Analogous colors are related, but they still need value separation. If all three are mid-value and similarly muted, the result may look muddy rather than harmonious.
Orange sits opposite blue, so even a small orange accent can create clear energy. Saturated blue with saturated orange is dramatic; muted blue with terracotta or ochre is easier to live with. Give the complement less area than the dominant blue unless a deliberately high-impact result is intended.
Warm earth colors such as rust, clay, camel, ochre, and walnut make blue feel less clinical. They are especially effective with dark or muted blues because their lower saturation keeps the contrast controlled. A bright orange accent needs more surrounding space or a quieter blue to avoid visual fatigue.
Green and violet offer neighboring or split-complementary options. Green-blue combinations feel botanical when paired with olive, moss, or leafy green. Violet can add depth to a blue scheme, particularly when the blue already has a purple undertone. For a split complement, use the hues on either side of orange, such as coral and ochre, rather than orange alone:
These combinations work because the accent colors are controlled by area, saturation, or both. A small vivid accent can balance a large muted field more effectively than several equally strong colors.
Neutrals determine how blue is perceived. Bright white makes a blue look cleaner and more energetic, while warm white softens cyan and prevents navy from feeling severe. Pale grey supports blue without introducing another strong hue, but a blue-grey next to a muted blue may lack enough contrast.
Black gives saturated blue a graphic, modern edge, but large areas of both can feel dense. Use black for outlines, hardware, typography, or small grounding details. Natural neutrals such as beige, tan, cork, wood, stone, and rattan add texture as well as warmth, making them useful when a flat grey would feel too formal.
Begin with a flexible 60-30-10 structure: roughly 60% dominant color, 30% supporting color or neutral, and 10% accent. It is a starting point rather than a rule. A dark navy may need more light neutral space, while a pale blue may need a larger supporting dark to remain legible.
For text and interface work, use a clearly lighter or darker background rather than relying on hue contrast alone. For interiors and physical objects, step back from the samples: a balanced scheme should still show a clear focal blue, supporting hierarchy, and readable edges at a distance.

Build Christmas color palettes with hue relationships, value contrast, neutrals, saturation, and one controlled accent. Explore five adaptable schemes for print, interiors, tables, and crafts.