Shoe Lace Designs: Decorative Lacing Patterns With Steps
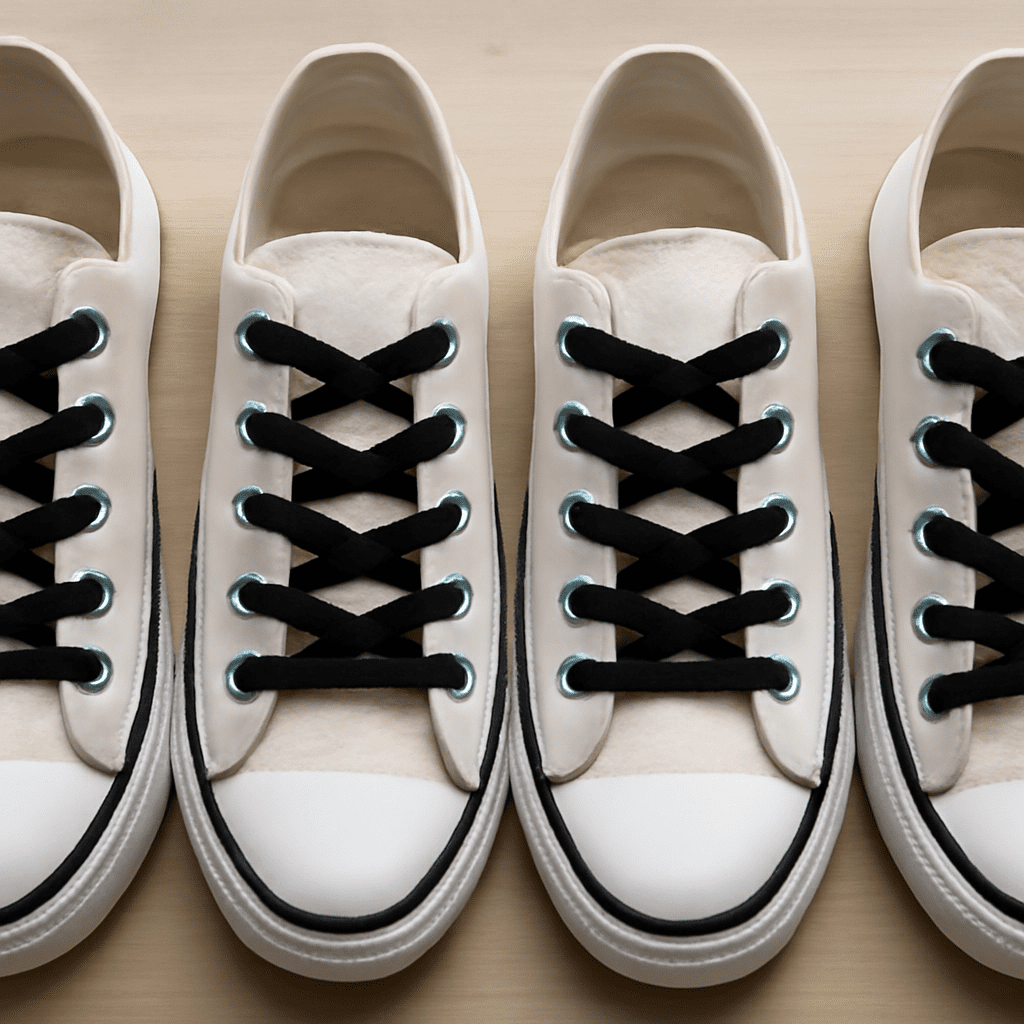
These shoe lace designs turn ordinary eyelets into reversible decorative patterns. For balanced everyday wear, start with straight-bar lacing; choose ladder or lattice when texture and grip matter more than quick adjustment. Star-like and two-tone arrangements create the boldest look but distribute pressure less evenly.
The paths below show exactly where each lace travels, which passes remain hidden, and where the finished tie sits. Use decorative patterns for casual shoes unless they still allow secure, even tightening.
Shoe lace designs start with numbered eyelets
Look down at the shoe and label the wearer’s left side L and right side R. Number each side from bottom to top: the eyelet nearest the toe is 1, followed by 2, 3, and so on. A six-pair shoe therefore has L1–L6 and R1–R6; an eight-pair shoe has L1–L8 and R1–R8.
Unless a pattern says otherwise, begin with both lace ends inside the shoe at the lowest pair. Center the lace so each end has about 15–20 cm available for the final tie. In the paths below, visible means the lace lies on top of the shoe, while hidden means it travels beneath the tongue or along the inside. Pull each pass snug, but do not fully tighten until the route is complete.
Straight-bar lacing
Required eyelets: Six pairs. Starting position: Lace ends inside at L1 and R1. Finished tie: The two ends emerge at L6 and R6.
- Run lace A from L1 to L3 as a hidden pass, across to R3 as a visible bar, down to R5 as a hidden pass, across to L5 as a visible bar, and then to L6 as a hidden pass.
- Run lace B from R1 to R2 as a hidden pass, across to L2 as a visible bar, down to L4 as a hidden pass, across to R4 as a visible bar, and then to R6 as a hidden pass.
- Pull the visible bars level from the bottom upward, then tie at L6/R6.
The horizontal bars spread pressure broadly across the instep and give the most balanced tightening of these decorative options. They use a standard amount of lace and open quickly enough for ordinary daily wear. Because the hidden returns limit independent adjustment between sections, slip-on ease is moderate rather than exceptional.
Ladder and lattice shoelace designs
Ladder required eyelets: Six pairs. Starting position: Ends inside at L1/R1. Finished tie: L6/R6.
- For lace A, follow L1 → L2 as a visible side rail → R2 as a visible rung → R4 as a hidden return → L4 as a visible rung → L6 as a visible side rail.
- For lace B, follow R1 → R3 as a hidden return → L3 as a visible rung → L5 as a hidden return → R5 as a visible rung → R6 as a visible side rail.
- Align the rungs and tie at the top pair.
Ladder lacing uses a moderate amount of lace. Its rails and rungs add friction, so the shoe feels grippier and less likely to loosen, but pressure can collect more at the horizontal rungs than with straight bars. Tightening takes a little longer, and putting the shoe on is moderately easy rather than fast.
Lattice required eyelets: Eight pairs. Starting position: Ends inside at L1/R1. Finished tie: L8/R8.
- For lace A, follow L1 → R2 as a visible X → R3 as a hidden lift → L4 as a visible X → L5 as a hidden lift → R6 as a visible X → R7 as a hidden lift → L8 as a visible X.
- For lace B, mirror the route: R1 → L2 as a visible X → L3 as a hidden lift → R4 as a visible X → R5 as a hidden lift → L6 as a visible X → L7 as a hidden lift → R8 as a visible X.
- Square the crossings before tying at L8/R8.
The lattice creates dense texture and holds firmly through repeated crossings, but it needs more lace than the six-pair patterns. Crossings make pressure less uniform and make quick loosening difficult. Expect slower tightening and slower entry, especially when the shoe is already snug.
A star-like pattern for cool lace designs
Required eyelets: Six pairs. Starting position: Ends inside at L1/R1. Finished tie: L6/R6.
- For lace A, follow L1 → R4 as a visible diagonal → L2 as a hidden return → R5 as a visible diagonal → L3 as a hidden return → R6 as a visible diagonal.
- For lace B, follow R1 → L4 as a visible diagonal → R2 as a hidden return → L5 as a visible diagonal → R3 as a hidden return → L6 as a visible diagonal.
- Arrange the diagonals into a star-like center and tie at L6/R6.
For a two-tone version, use two equal-length contrasting laces: thread one through route A and the other through route B, keeping both starts inside. Tie the two colors together at the top. This creates a dramatic star and makes the contrasting paths easier to see, but it uses extra lace and tightens unevenly. Diagonals can create concentrated pressure, while the crossed center slows entry and removal. Keep this arrangement casual-only; do not use it where reliable even tightening or secure fastening is critical.
Choose a design for fit, speed, and appearance
- Balanced tightening: Choose straight bars for everyday shoes and the most even pressure distribution.
- Firmer decorative grip: Choose ladder lacing when moderate lace use and resistance to slipping matter more than rapid adjustment.
- Dense visual texture: Choose lattice for a prominent woven effect, accepting extra lace, slower tightening, and reduced adjustability.
- Maximum visual impact: Choose a star or two-tone arrangement for casual shoes only, since the pressure is less even and putting the shoe on takes longer.
For sport, work, hiking, or safety-critical footwear, use conventional lacing that lets you tighten each section evenly and finish with a secure knot. A decorative pattern should never prevent the shoe from holding the foot firmly without pressure points.