
Recent Posts

Exploring Gothic Revival and Modern Gothic Architecture

Exploring Gothic Revival and Modern Gothic Architecture

Discover the key features of Gothic Revival architecture and how it influences modern and neo-gothic styles with iconic examples and design elements.
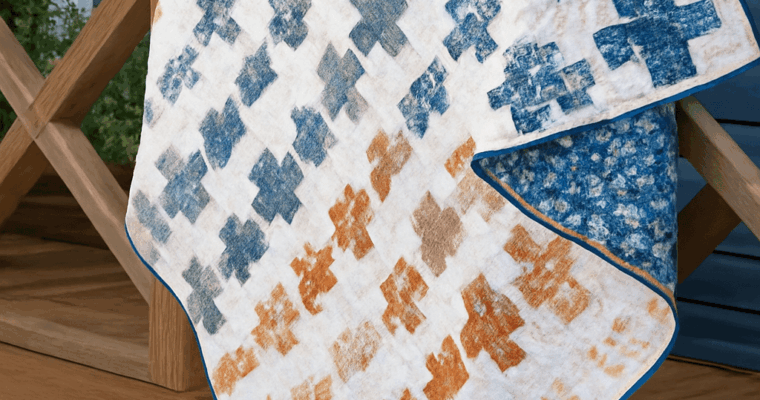
Exploring Jelly Roll Quilt Patterns for Creative Projects

Exploring Jelly Roll Quilt Patterns for Creative Projects

Discover versatile jelly roll quilt patterns, learn how to create stunning quilts with pre-cut fabric strips, and get inspired by unique design ideas and techniques.
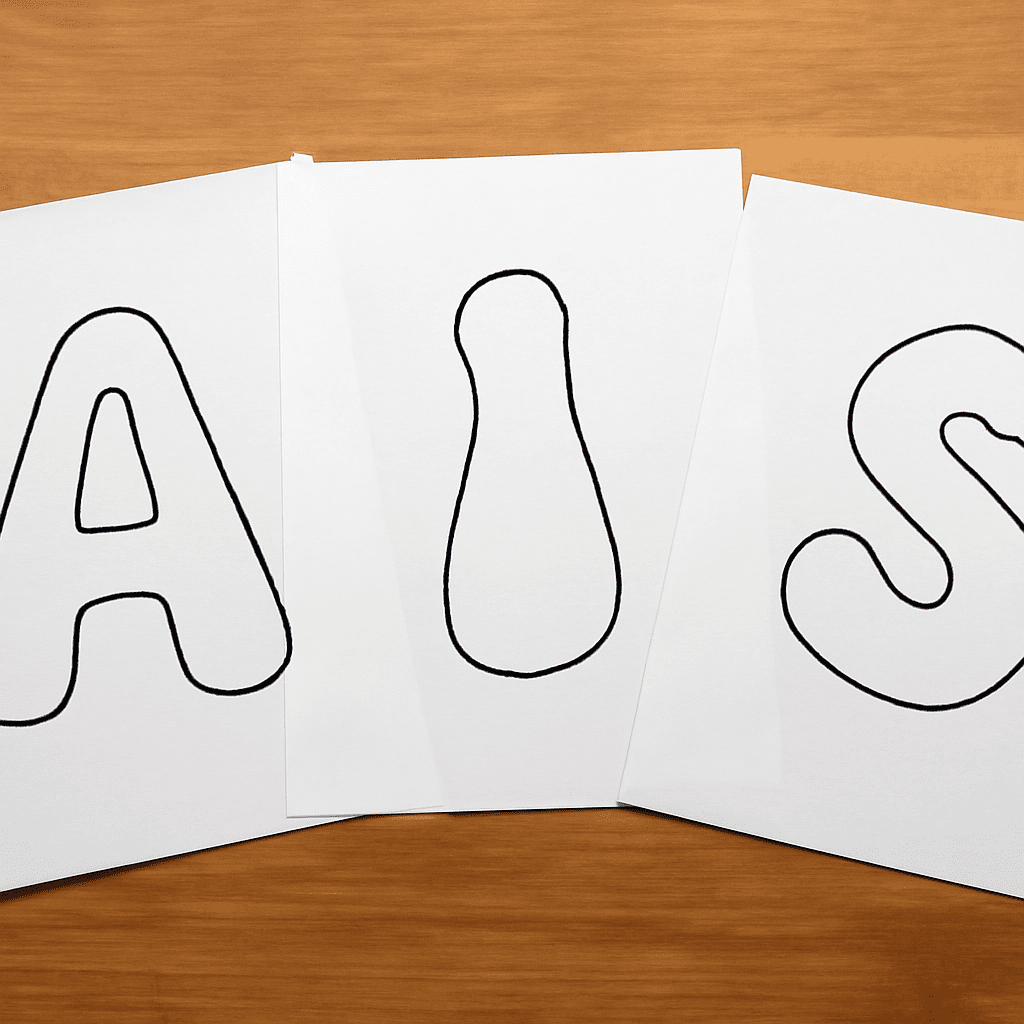
Creating Big Bubble Letters for Your Designs

Creating Big Bubble Letters for Your Designs

In the world of creative design, big bubble letters bring a playful and eye-catching element to any project. Whether you’re crafting a bulletin board for a classroom or designing a greeting card, these letters can add a vibrant touch. This article will guide you through understanding, creating, and using big bubble letters, including printable cut out letters for bulletin boards and outline letters.

Understanding Big Bubble Letters

Big bubble letters are a popular style of lettering characterized by their rounded and inflated appearance. These letters stand out due to their bold and playful look, making them ideal for various design projects that require a touch of whimsy and fun. The exaggerated curves and thick lines of bubble letters capture attention, making them perfect for headlines, banners, and posters.

How to Create Bubble Letters

Creating your own bubble letters can be a fun and rewarding process. Here are the steps to craft your own:

  1. Choose Your Tools: You’ll need a pencil, eraser, and paper. For digital creation, use graphic design software like Adobe Illustrator or a free alternative like Inkscape.
  2. Sketch the Outline: Start by lightly drawing the basic shape of the letter. Envision each letter as if it were made out of balloons; make the lines rounded and exaggerated.
  3. Refine the Shape: Once you’re satisfied with the outline, go over it with a darker pencil or pen. Thicken the lines to give the letters their characteristic bubble look.
  4. Add Details: Consider adding shadows or highlights to give your letters a three-dimensional effect. This extra step can make your bubble letters pop even more.

Printable Cut Out Letters for Bulletin Boards

Printable cut out letters are a convenient way to create vibrant and engaging bulletin boards. Here’s how you can easily make them:

  • Select a Template: Find or create a bubble letter template online. Many educational websites offer free printable options that you can customize to fit your theme.
  • Print the Letters: Use a color printer for a lively effect, or choose black and white for a classic look. Ensure your printer settings are set for high quality.
  • Cut Out the Letters: Carefully cut around the outline of each letter. For precision, use a craft knife or scissors with a sharp blade.
  • Arrange and Display: Arrange the letters on your bulletin board using thumbtacks or adhesive putty. Play with the layout until you achieve a balanced look.

Using Outline Letters in Your Projects

Outline letters offer a different style that can be used in various design projects. Here’s how you can incorporate them:

  • Digital Projects: Use outline letters in digital graphics, such as logos or social media banners. They can create a minimalist and chic appearance.
  • Handwritten Projects: When creating a handmade card or scrapbook, outline letters can add a stylish touch. Trace your letters first before filling them in with colors or patterns.
  • Coloring Activities: Outline letters provide a perfect base for coloring activities, both for kids and adults. They allow for creative expression and can be a fun pastime.

Big bubble letters, printable cut out letters for bulletin boards, and outline letters each bring their unique flair to a project. By understanding and utilizing these styles, you can enhance your designs with creativity and charm.

Ancient Cave Drawings: Images Made in Stone Spaces

Ancient Cave Drawings: Images Made in Stone Spaces

The earliest paintings found in caves reveal animals, hands, and stories. Explore how their makers worked and how scientists discover the age of each image.

How a Rose Window Turns Stone and Glass Into Light

How a Rose Window Turns Stone and Glass Into Light

A cathedral’s rose-shaped window brings stone, glass, and daylight together. Discover how to read the three great circular windows of Notre-Dame in Paris.
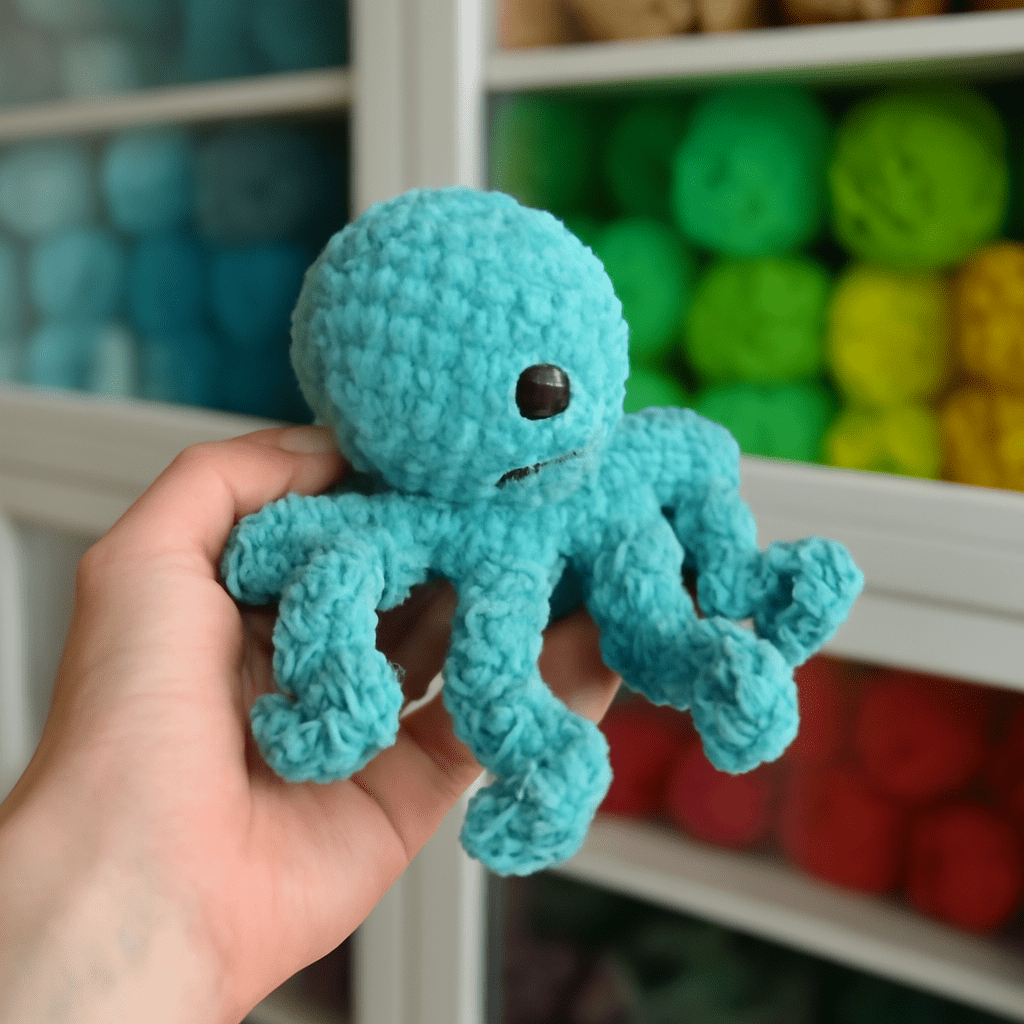
How to Crochet an Octopus: Free Pattern Guide

How to Crochet an Octopus: Free Pattern Guide

Creating a delightful crocheted octopus is a rewarding project for crafters of all skill levels. This guide provides a free pattern to help you crochet an octopus, complete with step-by-step instructions and customization tips. Whether you’re a beginner or an experienced crocheter, this pattern is designed to be both accessible and fun. Let’s dive into the world of octopus crochet and bring your new sea creature friend to life.

Materials Needed for Your Octopus Crochet Project

Before you begin your octopus crochet pattern, gather these essential materials:

  • Yarn: Choose soft, medium-weight yarn in your preferred color. Acrylic yarn works well for beginners.
  • Crochet Hook: A size 4.0 mm (G) crochet hook is recommended for this project.
  • Stuffing: Use polyester fiberfill for stuffing the octopus.
  • Scissors: A pair of sharp scissors for cutting yarn.
  • Tapestry Needle: For weaving in ends and sewing parts together.
  • Stitch Marker: Optional but useful for marking rounds.
  • Safety Eyes: 8-10 mm in size for the octopus’s eyes, or you can embroider eyes with black yarn.

Step-by-Step Octopus Crochet Pattern

Follow these steps to create your crocheted octopus:

  1. Head:
    • Start with a magic ring and crochet 6 single crochets into the ring.
    • Increase each stitch for a total of 12 single crochets.
    • Continue increasing until you have 36 stitches in total.
    • Crochet in rounds until the head measures about 4 inches in height.
  2. Body:
    • Continue from the head, crocheting evenly for 2 inches.
    • Begin decreasing to shape the bottom, closing the body gradually.
    • Stuff the head and body firmly before fully closing.
  3. Tentacles:
    • Crochet chain stitches for about 20 stitches, then single crochet back along the chain for a curled effect.
    • Attach each tentacle to the bottom of the body, ensuring they’re evenly distributed.
  4. Finish:
    • Sew on safety eyes or embroider eyes with black yarn.
    • Weave in all loose ends with a tapestry needle.

Tips for Customizing Your Crocheted Octopus

Personalize your octopus crochet pattern with these customization tips:

  • Color Variations: Use variegated yarn for a multicolored effect or choose different colors for the tentacles and body.
  • Size Alterations: Adjust the size of your octopus by using thicker yarn and a larger hook for a bigger octopus, or thinner yarn and a smaller hook for a smaller one.
  • Facial Features: Add a smile or other facial expressions with embroidery for a unique touch.
  • Additional Embellishments: Sew on beads or felt decorations to create a whimsical look.

Common Mistakes and How to Avoid Them

Ensure success in your crochet project by avoiding these common mistakes:

  • Inconsistent Tension: Maintain consistent tension to avoid lumpy or uneven stitches. Practice with scrap yarn if necessary.
  • Skipping Rounds: Use a stitch marker to keep track of rounds, preventing accidental skips.
  • Incorrect Stitch Count: Regularly count your stitches to ensure the correct number, especially during increases and decreases.
  • Loose Ends: Properly weave in all ends to prevent unraveling over time.

With this free octopus crochet pattern, you can create a charming handmade toy perfect for gifting or adding to your collection. Enjoy the process of bringing your crocheted octopus to life, and let your creativity shine with personal touches and variations.
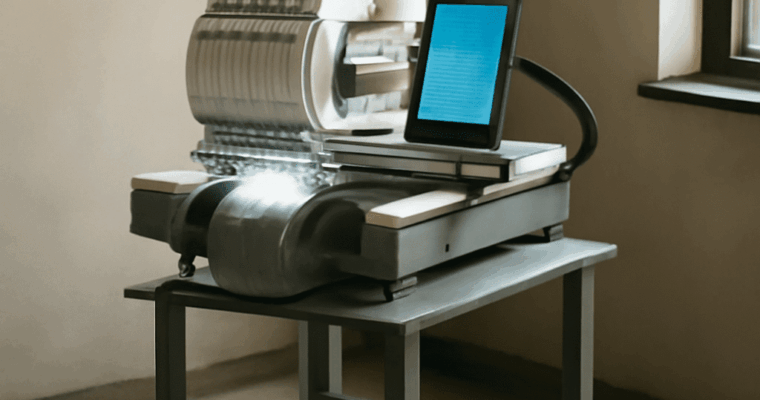
Exploring the World of Embroidery Art and Machine Embroidery

Exploring the World of Embroidery Art and Machine Embroidery

Discover the beauty of embroidery art and the efficiency of machine embroidery. Learn about techniques, tools, and how these crafts enhance interior objects.

Where Is the Tallest Building in the World?

Where Is the Tallest Building in the World?

Explore the tallest building in the world, its height, and other towering structures that redefine architecture and engineering excellence.
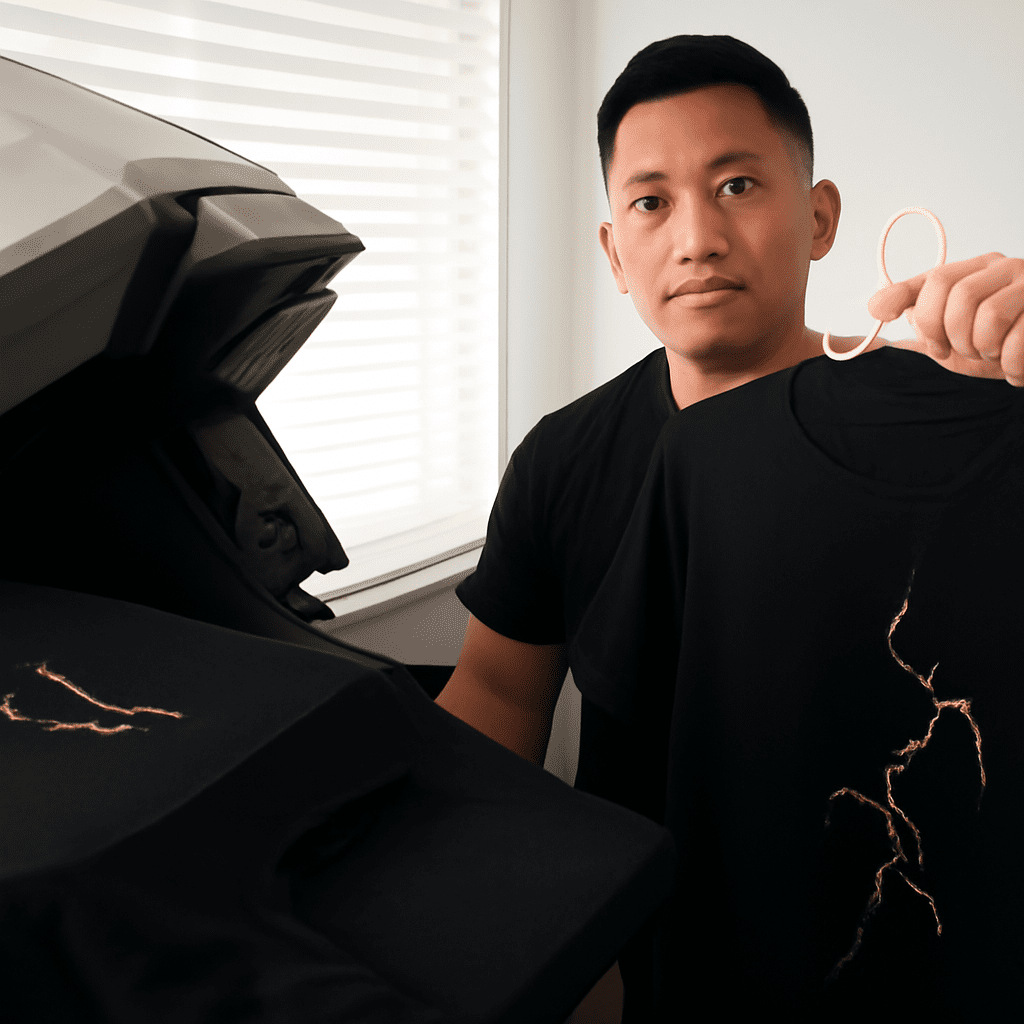
Creating Unique T-Shirt Designs: A Step-by-Step Guide

Creating Unique T-Shirt Designs: A Step-by-Step Guide

Creating unique t-shirt designs is a rewarding venture, whether you’re crafting for personal use or launching a business. With the right approach, anyone can learn how to make a shirt that stands out. In this guide, we will explore essential design fundamentals, the best tools for the job, and detailed steps to bring your vision to life. Additionally, we’ll share expert tips on crafting a t shirt logo design and reveal top resources for free t-shirt design options.

Understanding T-Shirt Design Basics

Before diving into the design process, it’s important to grasp the basics of t-shirt design. This involves understanding elements like color theory, typography, and composition. The key is to create a harmonious blend that conveys your message effectively. Start by defining the purpose of your t-shirt—whether promotional, artistic, or casual—and focus on elements that will resonate with your target audience. Simplicity is often best, as it ensures the design remains clear and impactful from a distance.

Choosing the Right Tools for T-Shirt Design

The right tools can make a significant difference in the quality and ease of your t-shirt designs. Popular design software such as Adobe Illustrator and Photoshop offer comprehensive features for creating vector graphics and manipulating images. For those seeking budget-friendly or beginner-friendly options, tools like Canva or GIMP provide ample capabilities to get started. Consider using a drawing tablet if you prefer hand-drawn designs, as it offers greater precision and control than a standard mouse.

Step-by-Step Guide to Making Your T-Shirt

To create a t-shirt design, follow these steps:

  1. Research and Inspiration: Gather inspiration from current trends, art, and other t-shirts. This helps spark creativity and guide your design direction.
  2. Sketch Your Design: Use pencil and paper to sketch the initial idea, focusing on layout and major elements.
  3. Create a Digital Version: Transfer your sketch to digital format using your chosen design tool. Pay attention to resolution and size to ensure print quality.
  4. Select Colors and Fonts: Choose a color palette and fonts that align with your concept. Ensure text is legible and complements your design rather than overpowering it.
  5. Review and Refine: Revise your design by assessing balance, contrast, and alignment. Solicit feedback from peers to identify areas for improvement.
  6. Prepare for Printing: Once satisfied, save your design in a print-ready format like PNG or vector files. Confirm with your printing service for specific requirements.

Tips for Designing a Standout T-Shirt Logo

A compelling t-shirt logo design can elevate your overall concept. Here are some tips to ensure your logo makes an impact:

  • Simplicity is Key: A straightforward design is memorable and translates well across various mediums.
  • Reflect Your Brand Identity: Ensure your logo represents your brand’s core values and spirit.
  • Test Versatility: Your logo should look great in different sizes and on various backgrounds. Test it in both color and monochrome versions.

Exploring Free T-Shirt Design Resources

For those on a budget, numerous free resources can aid in creating compelling designs. Websites like Freepik and Vecteezy offer free vectors and graphics suitable for t-shirt designs. Canva is a user-friendly platform that provides various templates and design elements at no cost. Additionally, consider browsing forums and online communities for tips and tricks shared by fellow designers.

By understanding these elements and utilizing the right tools and resources, you can create impressive t-shirt designs that capture attention and express your unique style.

Palladianism: Reading the Houses Behind the Facades

Palladianism: Reading the Houses Behind the Facades

Palladio’s architectural style comes alive in four remarkable houses. Discover how their proportions, classical fronts, and surrounding landscapes work together.