Famous Still Life Paintings: How Everyday Objects Become Art
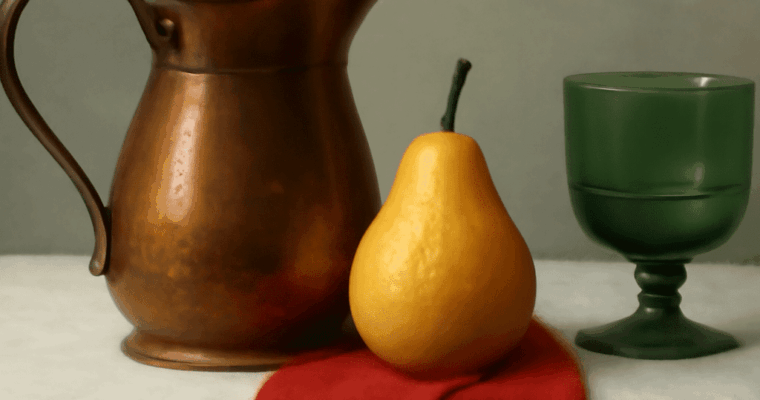
Examples of still-life art reveal how ordinary objects become compelling images. Explore three paintings through their subjects, composition, and meaning.
Examples of still-life art reveal how ordinary objects become compelling images. Explore three paintings through their subjects, composition, and meaning.

What makes architecture Brutalist? Explore exposed materials, bold forms, and distinctive buildings, from an English school to a Melbourne swimming center.
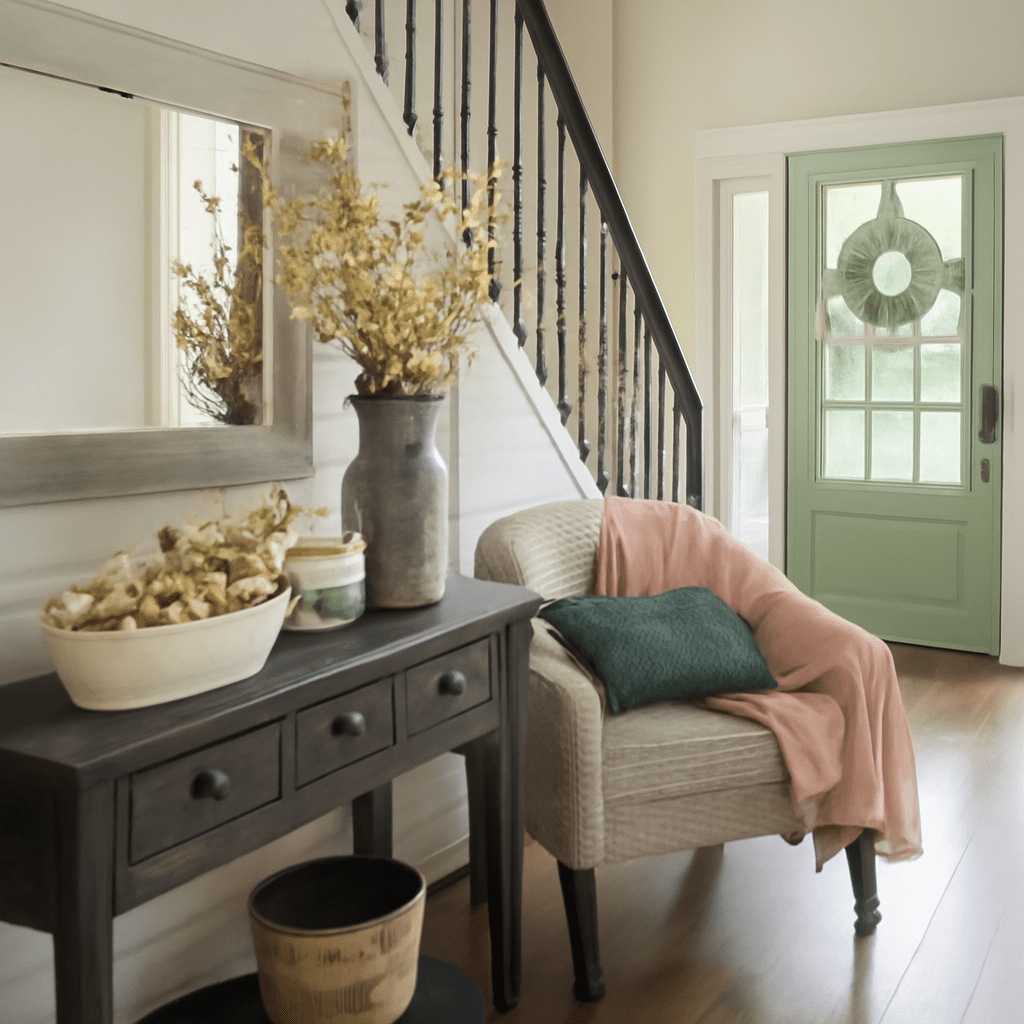
Farmhouse style homes have become a popular choice for those seeking a blend of rustic charm and modern comfort. The farm house design is characterized by its simplicity, warmth, and practical elegance. This article explores various farmhouse design ideas that can inspire you to create your ideal farm style home. From key architectural features to interior and exterior concepts, we’ll dive into what makes this style unique and how you can incorporate modern elements.
Farmhouse style homes are defined by their welcoming and cozy atmosphere. Key features often include a large, open porch, gabled roofs, and the use of natural materials like wood and stone. These homes typically have an open floor plan, which allows for ample natural light and facilitates easy movement between rooms. Exposed beams and shiplap walls are common, adding texture and interest to the design.
The color palette for farmhouse style homes is usually neutral, with whites, creams, and soft pastels creating a serene environment. Large windows are another hallmark, offering picturesque views and enhancing the indoor-outdoor connection.
When it comes to farm house design interiors, the focus is on creating a warm, lived-in feel. Start with a neutral base and add layers of texture through textiles like wool throws, linen cushions, and jute rugs. Furniture should be functional and comfortable, with oversized couches, sturdy wooden tables, and vintage accents.
Incorporate open shelving to showcase dishware or collectibles, and consider using reclaimed wood for flooring or furniture to enhance the rustic vibe. A farmhouse sink, often made of porcelain or stainless steel, is a staple in the kitchen, paired with shaker-style cabinets and a large island for communal gatherings.
For the exterior, a farm style aesthetic can be achieved with board and batten siding, stone accents, and classic black shutters. A wraparound porch is not only functional but also adds to the home’s charm, providing an ideal space for relaxing or entertaining guests.
Landscaping should complement the home’s rustic feel. Consider using native plants and creating a vegetable or herb garden to enhance the rural atmosphere. A gravel driveway or a picket fence can add the finishing touches to your farmhouse exteriors, creating a cohesive and inviting look.
Adding contemporary touches to a farmhouse style home can create a balanced and eclectic design. Consider modern lighting fixtures, such as pendant lights with a sleek finish or industrial-style sconces. Incorporate smart home technology discreetly to maintain the aesthetic while enhancing convenience.
Mixing old and new can result in a personalized space that reflects your tastes. For instance, pair modern art pieces with traditional furniture, or use contemporary materials like concrete alongside reclaimed wood. This approach allows you to maintain the essence of a traditional farmhouse while enjoying modern amenities.
Overall, farmhouse style homes offer a timeless appeal that blends the old with the new. By understanding its key features and implementing thoughtful design ideas, you can create a space that is both beautiful and functional.

Dive into the unique elements of Mayan architecture and explore iconic Mayan buildings that showcase this ancient civilization’s architectural prowess.

Discover simple and stylish crochet sock patterns. Learn how to create cozy socks with step-by-step instructions and tips for perfect results.
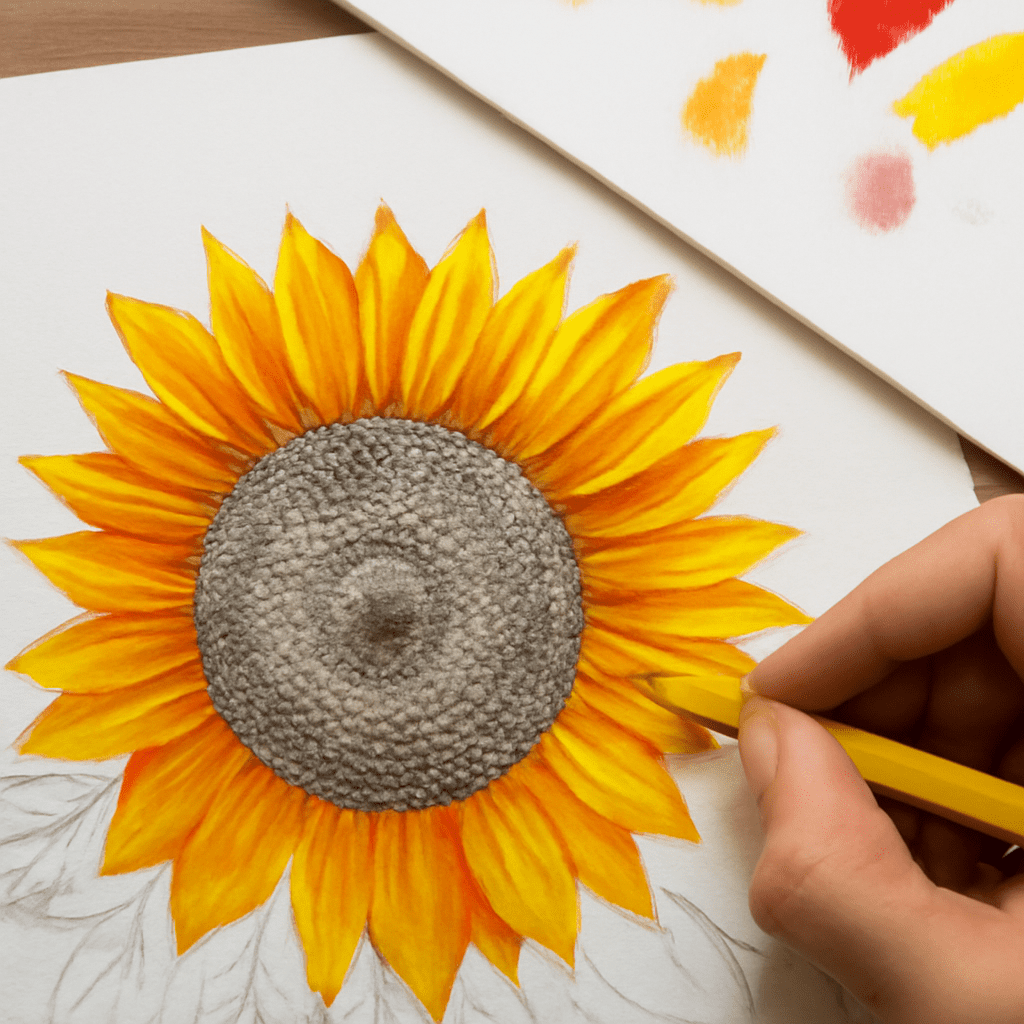
A sunflower begins with a broad center and a ring of radiating shapes, but the lively character comes from small differences in angle, overlap, and shade. Learning to sketch a sunflower is easier when those features are built in layers. Start with a light framework, then give the flower drawing depth with a few deliberate marks.
A sheet of drawing paper, an HB pencil, a softer 2B pencil, and an eraser are enough. The HB is useful for light construction lines; the softer pencil makes darker shadows without pressing hard. Place a real flower or a clear photograph nearby so the direction of petals and light can be observed.
Choose a nearly front-facing bloom for a first study. Its center reads as a circle, while a flower turned away presents an oval. Leave space beneath the head for a stem and a leaf or two, and space around the edges for the longest petals. A complete sunflower pencil drawing needs room to breathe on the page.
Draw a light circle for the central disc, roughly one-third to one-half of the intended width of the entire flower head. This is a starting proportion, so adjust it to the reference: some sunflowers have broader centers or shorter rays. Add a larger, faint circle around it to mark where the petal tips will generally reach.
The center is not simply an empty button. It contains many tiny individual florets, which develop into seeds as the head matures. For a turned flower, flatten both guide circles into related ellipses; keep their centers aligned so the head has a consistent direction. Erase the outer guide later.
Mark a vertical and a horizontal axis very lightly through the disc. These guides help distribute the first petals without counting every one. When considering how to draw a sunflower from observation, the relationship between the center and the whole head is more important than an exact number of petals.
Begin with four petals extending roughly up, down, left, and right from the disc. Add petals between them, using two gently curved lines that meet near a pointed or rounded tip. Vary their lengths and widths according to the reference. Let some lean sideways or curl instead of making every shape identical.
Work around the disc in small groups. The petal-like rays attach near its edge, and several may overlap or be partly hidden. Draw the visible petal first, then let the next disappear behind it; erase the concealed line. A second, partial layer can fill a gap without turning the edge into a rigid fence of identical points.
In studies of sunflowers, drawings gain energy from changes in spacing as well as shape. Step back and compare the dark center with the surrounding light forms. If one side looks heavy, shorten or turn a few petals before adding detail. These early adjustments are easier while the guide lines are still pale.
Bring two slightly uneven lines down from behind the flower head to form the stem. A small curve can suggest weight and growth; keep the lines close enough that the stem supports the head without competing with it.
Add one or two leaves from different points on the stem. Begin each with a center line showing its direction, then draw the broad outer shape around it. A heart-like base, pointed tip, and lightly toothed edge can suggest a common sunflower leaf, but use the reference for its particular outline. One leaf can turn partly away, making it narrower and revealing less of its surface.
The goal in drawing a sunflower is to connect these parts into one plant. A leaf that overlaps the stem should hide its edge, while a leaf behind it should stop at the stem.
Choose a light direction before shading. If light comes from the upper left, leave that side lighter and deepen the lower-right edges of the disc, petals, and stem. Use the side of the pencil for soft midtones, building several light layers rather than a single dark coat. Reserve the darkest accents for the disc and the small shadows where petals overlap.
Suggest the disc’s texture with short marks, dots, and curved rows that follow its rounded surface. Leave some areas quieter so the center does not become a solid black patch. Fine lines along petals can show their direction. In sunflower drawings, those untouched areas act as highlights.
To understand how to draw a sunflower with convincing depth, compare the darkest shadow with the lightest petal and keep a middle value between them. Lift graphite with the eraser along a petal edge or leaf vein where a small highlight helps separate overlapping forms.
The most common difficulty is a ring of petals that are equal in length, evenly spaced, and aimed straight outward. The flower then looks mechanical, even if the center and stem are carefully shaded. Look for repeated gaps and tips that all end at the same distance from the disc.
Lighten the outer guide, erase several petals, and redraw them in small groups: let one bend, let another overlap its neighbor, and vary the tip positions. Check the reference again before darkening the corrected shapes. In a pencil sketch of a sunflower, a few purposeful irregularities restore the sense of a living head.

The art of Brunelleschi opens a path into his buildings. Discover a bronze relief, Florence’s great dome, and the measured spaces of the Foundling Hospital.
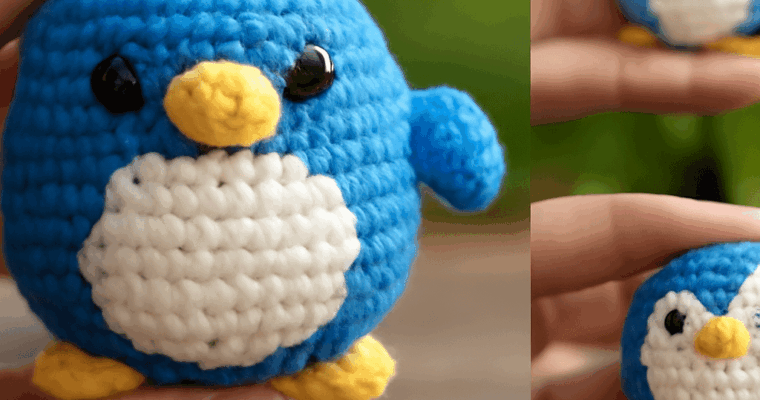
Learn how to crochet a penguin with our free amigurumi pattern. Perfect for beginners, this guide helps you craft an adorable crochet penguin step by step.
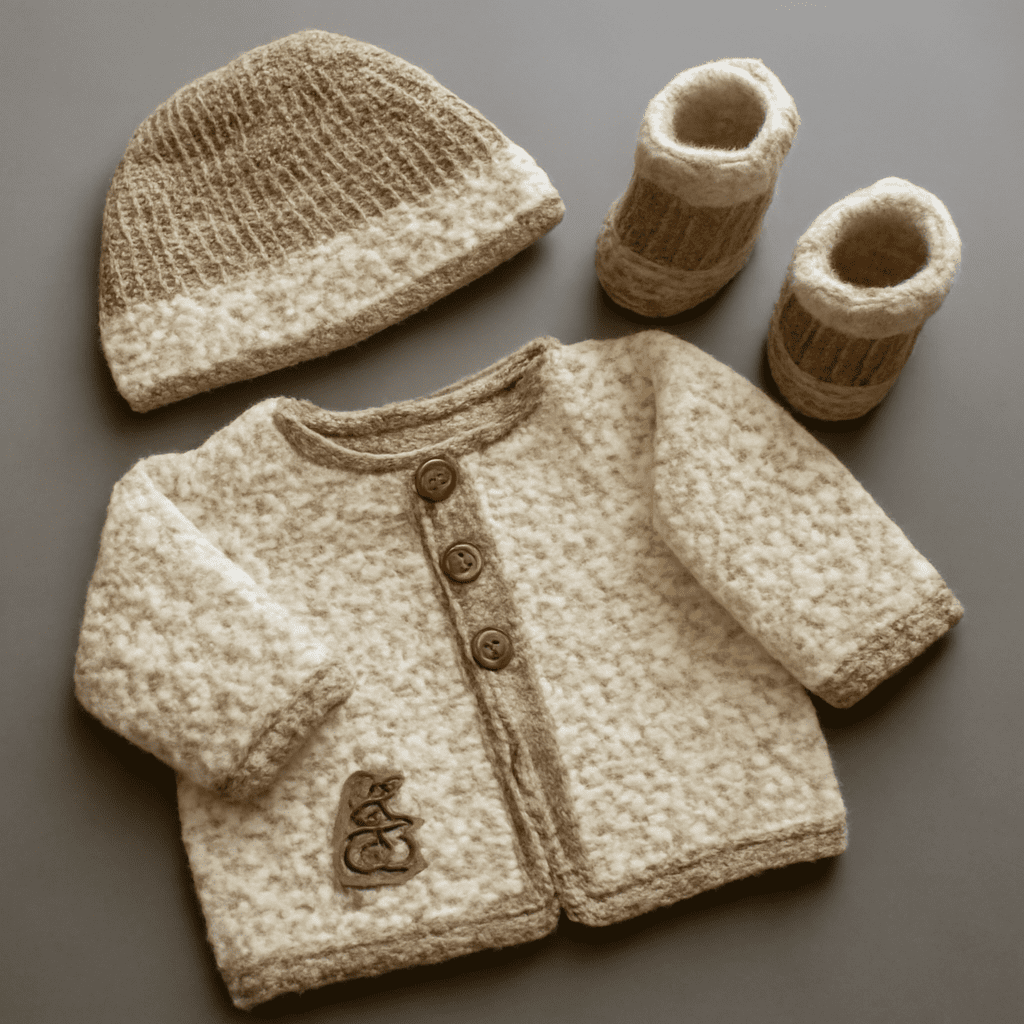
Crocheting for babies is a delightful way to create personalized and heartfelt gifts. Whether you’re a seasoned crocheter or a beginner eager to try a new craft, free crochet baby patterns offer the perfect opportunity to make something special. Explore these adorable crochet patterns for babies and discover the joy of creating handmade items that are both practical and cherished.
Crocheting for babies allows you to create unique, cute, and functional items. Baby crochet projects are generally small and quick, making them ideal for those looking to try new techniques without a huge time investment. Additionally, handmade items provide a personal touch that mass-produced products often lack, making them perfect for gifts or keepsakes.
If you’re looking for inspiration, these free crochet patterns for newborns and babies are a great starting point:
Selecting the right yarn is crucial when crocheting for babies, as their sensitive skin requires gentle materials. Here’s what to consider:
When embarking on free crochet patterns for newborns, keep these helpful tips in mind:
Creating crochet patterns for babies is not only a rewarding hobby but also a meaningful way to show love and care. With countless free crochet baby patterns available, you can craft beautiful, personalized items that will be treasured by both parents and their little ones.

Discover practical steps and resources to start learning graphic design as a beginner. Explore tools, techniques, and tips to kickstart your creative journey.