
How to Use a Mood Board Creator for Stunning Designs
Discover how to create a mood board for fashion and design projects. Learn steps, tips, and tools for effective mood board design.
Discover how to create a mood board for fashion and design projects. Learn steps, tips, and tools for effective mood board design.

Explore how color harmony and tetradic colors can transform your interiors. Learn to use a color wheel for selecting colors that go well together.
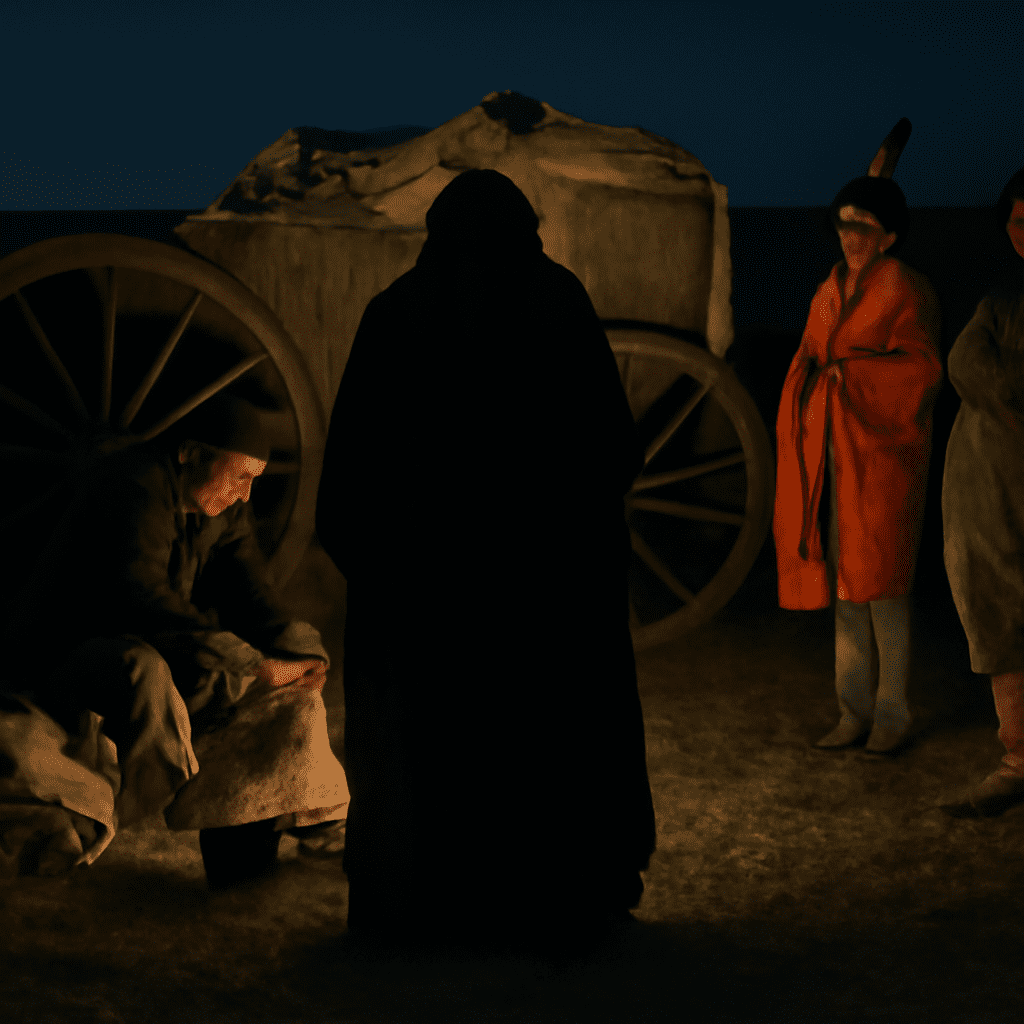
A viewer standing before a painting of riders charging across open ground may see action first and composition only afterward. Looking closely at paintings by Frederic Remington reveals how carefully the movement is arranged: horses lead the eye, dust softens the distance, and a cropped horizon can make the danger feel immediate. Remington’s paintings of the American West are stories built from those visual choices.
Born in New York in 1861, Remington traveled in the West and made his reputation through illustrations as well as paintings and sculptures. His images helped shape an influential vision of the region for readers and gallery audiences. They are also selective pictures made during a period of profound change, rather than neutral windows onto every Western experience.
In A Dash for the Timber (1889), riders rush toward the viewer, their horses packed into a broad horizontal canvas. Their direction makes the space feel compressed: the group seems about to cross the picture’s edge. The riders’ different positions and gestures keep the scene from becoming a row of identical figures, while the dusty ground ties them together as a single moving force.
The Amon Carter Museum, which holds the painting, describes how Remington’s travels in the Southwest informed his observation of landscape and light. The picture turns those observations into a dramatic arrangement, not simply a record of a particular event. It invites the viewer to feel the urgency of flight before asking for a complete account of what happened.
This early Frederic Remington painting also shows the artist’s command of narrative detail. Clothes, tack, and the horses’ bodies provide information about the riders, but their placement determines the pace. Following the line from the distant figures to the horses nearest the front is a useful way to see how the image makes motion out of still paint.
Not all Frederic Remington paintings depend on a burst of action. In The Fall of the Cowboy (1895), two cowboys pause at a fence in a snowy landscape. One has dismounted to open the gate; the other waits on horseback. The subdued grays and browns quiet the scene, and the fence cuts across the ground as an unmistakable interruption.
That ordinary task carries historical weight. The Amon Carter notes that the image accompanied an essay lamenting the end of the open range, a landscape altered in part by fencing. The work turns a practical barrier into a sign of a changing way of life. Its melancholy comes not from a dramatic confrontation but from the pause itself.
The scene also illustrates a central feature of Remington’s art: a small, legible event can stand for a much larger story. The artist does not show all the causes of change or everyone affected by it. The picture asks the viewer to consider whose loss is being mourned and what other histories sit outside the frame.
A later group of Frederic Remington paintings uses night to make uncertainty visible. A nocturne is a scene organized around the effects and mood of nighttime. In these works, darkness is not merely a black background; blue, green, and brown tones can suggest cold air, distance, and forms that are only partly visible.
In A Reconnaissance (1902), three cavalry soldiers and their horses occupy a snowy, moonlit landscape. Figures look away toward a distant tree line. Because the viewer shares their restricted view, the question becomes what might lie ahead rather than what has already happened. The Metropolitan Museum describes the soldiers as alert to a possible confrontation; the unseen threat gives their stillness its tension.
Compare that controlled stillness with A Taint on the Wind (1906), where startled horses pull a stagecoach through the dark. The Sid Richardson Museum notes that the cause of their alarm remains outside the picture. Lanterns illuminate the coach and its occupants, helping the viewer read the action while leaving the danger unresolved. In this painting by Remington, a pocket of light is enough to show that something is wrong, but not enough to explain it.
Remington’s pictures emerged as railroads, settlement, fencing, and the confinement of Native peoples to reservations transformed the West. His firsthand observations mattered, but his work was also shaped by the markets and attitudes of his time. Popular stories often centered white cowboys and soldiers; Indigenous peoples could be cast as anonymous threats rather than represented through their own perspectives.
That framing affects how a painting tells its story. In a chase, the riders who face the viewer can become the people with whom the audience identifies, while distant pursuers are harder to know as individuals. Seeing the skill in the arrangement and asking what it leaves out are complementary ways to read the image.
For a closer comparison, open the museum pages for The Fall of the Cowboy and A Reconnaissance side by side. Trace where each fence or horizon leads the eye, then note how a figure’s direction changes the story the viewer is invited to imagine.
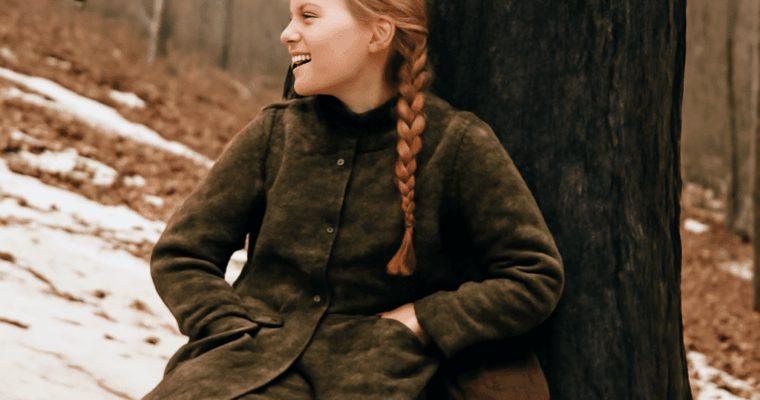
Wyeth’s paintings of Helga sit within a larger group of drawings and studies. Explore the materials, light and recurring subject behind the familiar images.

Discover effective methods for preserving flowers, including special techniques for wedding bouquets. Learn how to keep your blooms vibrant for years to come.
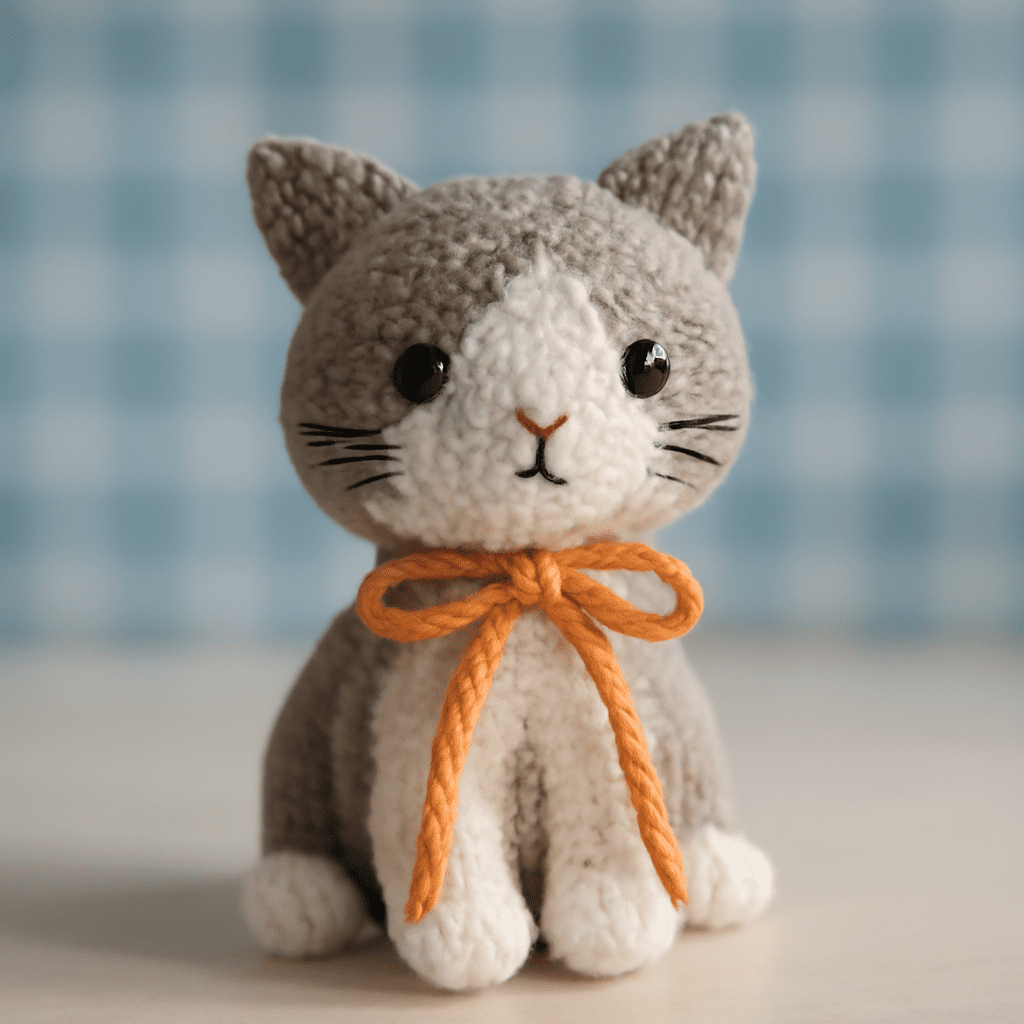
Creating a cat amigurumi is a delightful way to combine your love of cats and crochet. This guide will walk you through how to crochet a cat amigurumi, from gathering materials to executing the crochet cat pattern and finally, adding personal touches to make your project stand out. Whether you’re a beginner or an experienced crocheter, these tips and methods will help you create your own adorable crochet cats.
To get started on your amigurumi cat pattern, you’ll need the following materials:
Begin your crochet cat pattern following these steps:
Here are some tips to enhance your crochet cat amigurumi:
Watch out for these common mistakes when working through your amigurumi cat pattern:
With this guide, you are now ready to embark on your crochet journey to create a charming cat amigurumi that will be cherished by cat lovers of all ages.

Learn how to crochet amigurumi animals with easy patterns and tips for beginners. Discover step-by-step instructions to create your own crochet animals.

Discover how to incorporate modern farmhouse style into your home with design tips and ideas. Transform your space with this popular interior style.
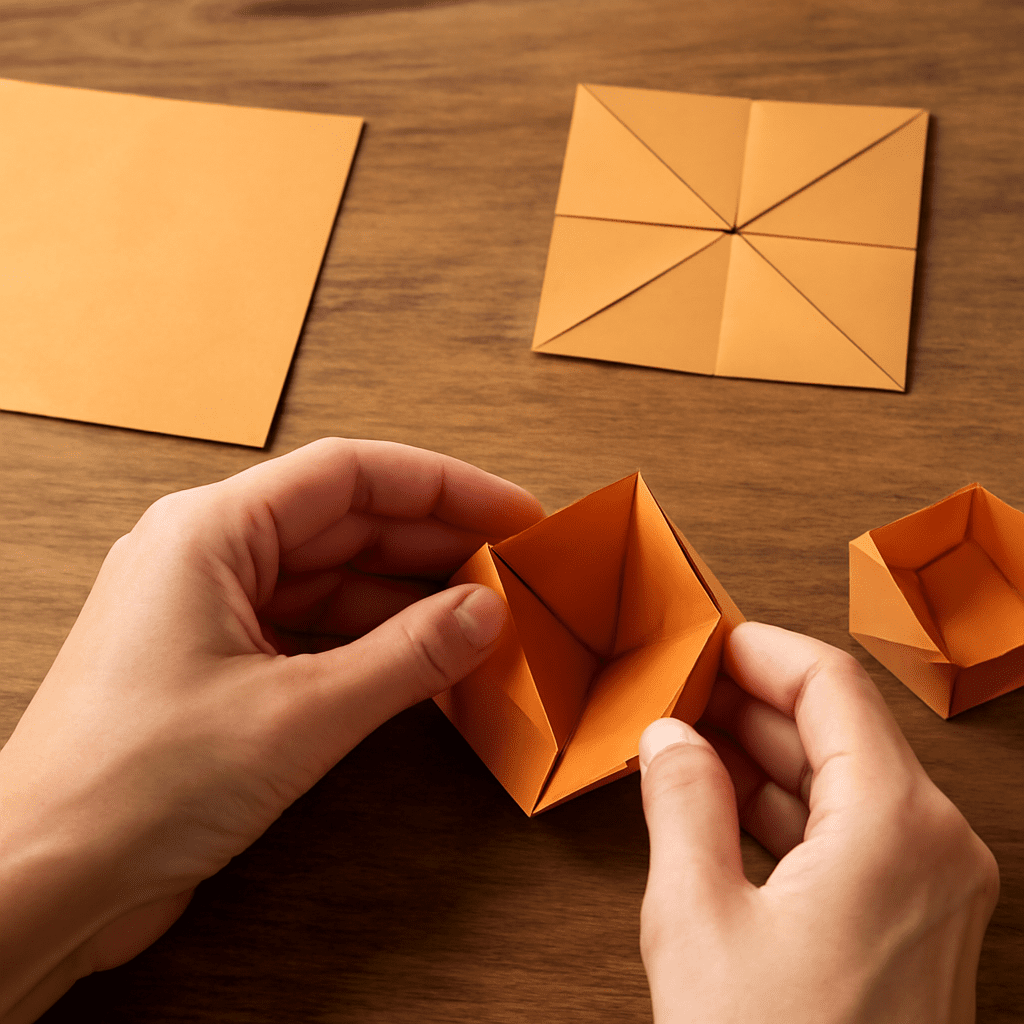
Origami is a wonderful craft that captures the imagination of children while developing their fine motor skills and creativity. With just a simple square piece of paper, kids can create delightful projects that spark joy and a sense of achievement. This guide to easy origami for kids will walk you through why origami is beneficial, the essential supplies needed, and step-by-step instructions for some simple origami projects.
Origami is an excellent activity for kids as it enhances concentration, patience, and attention to detail. As children follow instructions to fold paper into various shapes, they engage in a form of active meditation that boosts cognitive development. Origami also improves hand-eye coordination and fine motor skills, making it a perfect educational tool without the need for screens or expensive materials. Furthermore, completing an origami project can provide a sense of accomplishment that builds confidence.
The beauty of origami lies in its simplicity. To get started, you only need a few basic supplies:
Here are a few simple origami projects that are perfect for kids:
Creating beautiful origami projects is all about practice and patience. Here are some tips to ensure success:
With these projects and tips, kids will find that origami easy and enjoyable. Encourage them to explore their creativity and have fun with this timeless craft.

Discover fun and creative paper crafts to make at home. Explore step-by-step guides for making origami, paper flowers, and more with simple materials.