Easy Origami for Kids: Fun and Simple Projects
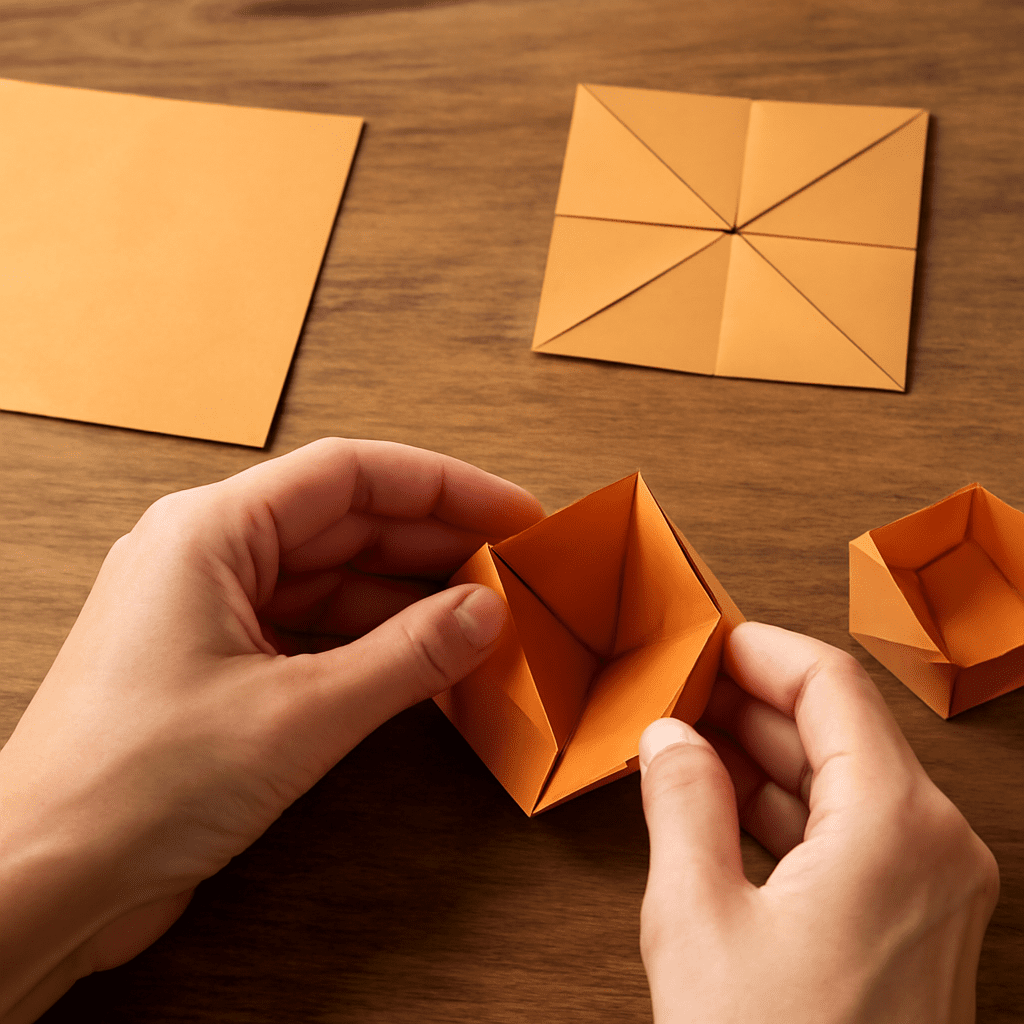
Origami is a wonderful craft that captures the imagination of children while developing their fine motor skills and creativity. With just a simple square piece of paper, kids can create delightful projects that spark joy and a sense of achievement. This guide to easy origami for kids will walk you through why origami is beneficial, the essential supplies needed, and step-by-step instructions for some simple origami projects.
Why Origami is Great for Kids
Origami is an excellent activity for kids as it enhances concentration, patience, and attention to detail. As children follow instructions to fold paper into various shapes, they engage in a form of active meditation that boosts cognitive development. Origami also improves hand-eye coordination and fine motor skills, making it a perfect educational tool without the need for screens or expensive materials. Furthermore, completing an origami project can provide a sense of accomplishment that builds confidence.
Essential Origami Supplies
The beauty of origami lies in its simplicity. To get started, you only need a few basic supplies:
- Square Origami Paper: While you can use any paper, origami paper is specially designed to be easy to fold and comes in a variety of colors and patterns.
- Flat Surface: A clean, flat area is essential for precise folds.
- Bone Folder (optional): This tool can help make crisp folds but is not necessary, especially for beginners.
Step-by-Step Easy Origami Projects
Here are a few simple origami projects that are perfect for kids:
1. Origami Boat
- Start with a square piece of origami paper.
- Fold the paper in half diagonally to form a triangle.
- Fold the two corners of the triangle upwards to meet at the top point.
- Open the base slightly and press to shape it into a boat.
2. Origami Dog Face
- Begin with a square origami paper, color side up.
- Fold the paper in half diagonally to form a triangle.
- Fold the top corners down to form floppy ears.
- Fold a small portion of the top point up to create a nose.
- Draw eyes and a nose to complete the face.
3. Origami Heart
- Start with a square piece of paper, color side down.
- Fold the paper in half horizontally and vertically, then unfold.
- Fold the top edge down to the center line.
- Fold the bottom edge up to the center line.
- Flip the paper over and fold the outer corners in to meet the center.
- Turn the paper back over and fold the top corners down to form the heart shape.
Tips for Successful Origami Creations
Creating beautiful origami projects is all about practice and patience. Here are some tips to ensure success:
- Start Simple: Begin with easy origami designs and gradually move to more complex ones.
- Follow Instructions Carefully: Pay close attention to each step and follow instructions closely.
- Use Appropriate Paper: Use square origami paper for best results, as it is designed to fold well.
- Practice Precision: Make sure folds are sharp and aligned for a clean finished product.
- Be Patient: Take your time with each fold and enjoy the process.
With these projects and tips, kids will find that origami easy and enjoyable. Encourage them to explore their creativity and have fun with this timeless craft.