How to Crochet Amigurumi Animals for Beginners
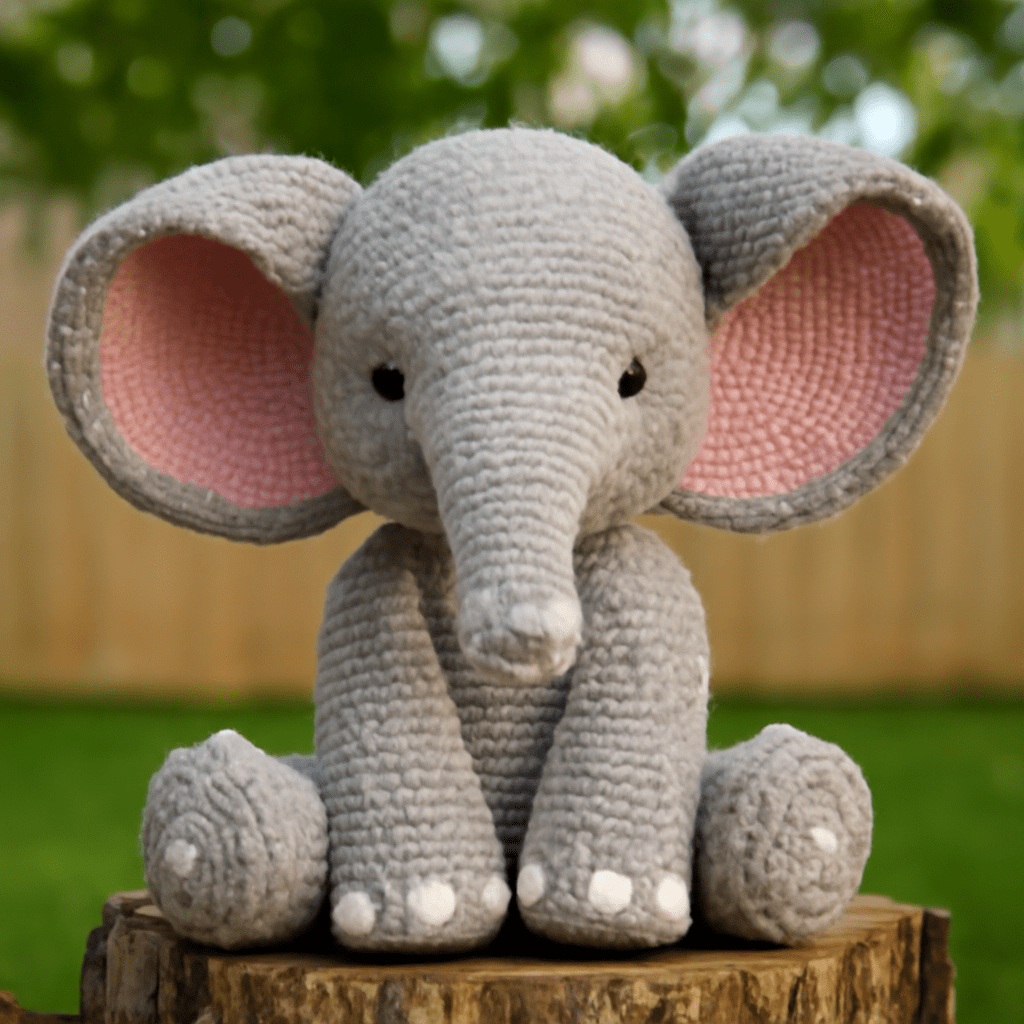
Crochet animals, particularly amigurumi, are a delightful craft for both beginners and seasoned crafters. With a burst of creativity and some basic skills, you can create charming figures that bring joy to everyone who sees them. This guide will help you learn how to crochet amigurumi animals for beginners, offering insights into the essential tools, techniques, and steps involved in this fun-filled activity.
Getting Started with Crochet Animals
Amigurumi, a Japanese term for crocheted or knitted stuffed toys, has gained immense popularity among crochet enthusiasts. The appeal lies in their simplicity and the endless possibilities they provide. To begin with crochet animals, you’ll need to understand the basic principles of amigurumi, which involve creating small, circular pieces and assembling them to form an animal.
Essential Supplies and Tools
Before diving into your first crochet animal project, gather the necessary supplies. Here’s a list of what you’ll need:
- Yarn: Opt for cotton or acrylic yarns as they are easy to work with and come in a variety of colors.
- Crochet Hook: A size 2.5mm to 4mm hook is typically recommended for amigurumi, depending on the yarn weight.
- Stuffing Material: Use polyester fiberfill for stuffing your animals, ensuring they are soft and plush.
- Tapestry Needle: Essential for sewing pieces together and weaving in ends.
- Stitch Markers: Useful for keeping track of the beginning of your rounds.
- Scissors: For cutting yarn.
Basic Crochet Stitches for Amigurumi
Mastering a few basic stitches is crucial for creating crochet animals patterns. Here are the primary stitches you’ll use in amigurumi:
- Chain Stitch (ch): The fundamental stitch used to start most projects.
- Single Crochet (sc): The most common stitch in amigurumi, providing a tight, dense fabric.
- Increase (inc): Adding more stitches to form shapes by working two single crochets in one stitch.
- Decrease (dec): Reducing the number of stitches by crocheting two stitches together.
- Slip Stitch (sl st): Used to join pieces or elements together.
Step-by-Step Guide to Crocheting a Simple Amigurumi Animal
Follow these steps to crochet a basic amigurumi animal:
- Create a Magic Ring: Start with a magic ring, which allows you to crochet in the round tightly without a hole in the center.
- Work in Rounds: Crochet in continuous rounds using single crochet stitches. Use a stitch marker to note the start of each round.
- Shape the Body: Increase and decrease stitches as required by your pattern to shape the animal’s body.
- Stuff the Body: As you near the end of your pattern, fill the animal with stuffing material to achieve the desired firmness.
- Create and Attach Limbs: Crochet separate pieces for limbs and features, then sew them securely to the body using a tapestry needle.
- Add Facial Features: Use embroidery thread or safety eyes to add personality to your animal.
Tips and Tricks for Perfecting Your Crochet Animals
Here are some additional tips to enhance your amigurumi creations:
- Consistent Tension: Maintain even tension to ensure your stitches are uniform and the final product is smooth and professional-looking.
- Experiment with Colors: Don’t be afraid to mix and match colors to bring your crochet animals to life.
- Follow Patterns Closely: For beginners, sticking to the pattern instructions is crucial for achieving the desired shape and size.
- Practice Regularly: The more you crochet, the better you’ll become at understanding patterns and mastering stitches.
- Be Patient: Amigurumi requires precision and practice. Take your time, especially when learning new techniques.
With these instructions and tips, you’re well on your way to creating adorable crochet animals. Happy crocheting!