Realistic Drawings of Animals: From First Observation to Finished Form
A cat’s ears can turn independently while its head stays still. That small change alters the silhouette and the apparent direction of attention, a reminder that realistic animal drawings begin with observation rather than a collection of fur marks. In animal drawings made with pencil, the placement of an ear can matter more than hundreds of individual hairs.
Animal Pencil Drawings: Choose a Reference and a Destination
A clear photograph with a visible eye, an unobstructed outline, and light coming from one side gives the artist enough information to make deliberate choices. A three-quarter view can reveal the depth of a muzzle and the curve of a torso, while a side view makes the proportions of legs easier to compare. If working from life, a resting pet or an animal observed at a zoo offers a better chance to study a pose before it changes.
Decide how far the picture needs to go before picking up a pencil. Pencil sketches of animals can be quick investigations of movement and proportion, with loose lines left visible. Pencil drawings of animals may develop those discoveries into a resolved image, with a planned range of tones and selected detail. Animal sketches in pencil can stand on their own, or become guides for a longer session.
Build the Body Before the Surface
Begin with a light line for the direction of the spine and another for the angle of the head. Enclose the rib cage and pelvis in simple ovals, then use narrow cylinders to establish the limbs. These shapes are scaffolding: their purpose is to show how masses connect and where weight falls. Keep the marks light enough to adjust without scarring the paper.
Measure relationships against a feature that is easy to locate, such as the length of the head. In a sitting dog, compare that length with the height of the chest, the distance between the eyes, and the length of the visible foreleg. Lifelike drawings of animals depend on those comparisons. Check the spaces between limbs as carefully as the limbs themselves; a triangular gap that is too wide can shift the apparent balance of the whole pose.
For realistic drawings of animals, the outer contour should follow the underlying structure. A shoulder may create a subtle rise in the back, while a bent leg changes direction at the joint. Place small landmarks at these turns before connecting them with a continuous line. Looking away briefly and returning to the page can make a tilted head or an oversized paw easier to notice.
Establish Light, Then Describe Fur
A soft graphite pencil, such as a 2B, can establish midtones; a harder HB is useful for light construction. Begin with a broad, pale layer on the side turned away from the light. Leave the brightest paper for highlights, then deepen the shadow beneath the jaw, behind a leg, or where the body meets the ground. These large tonal shapes give an animal drawing in pencil its sense of volume before texture enters the picture. Drawings of animals with realistic proportions also need shadows that describe their mass.
Squinting at the reference simplifies detail into light and dark masses. In realistic drawings of animals, compare the darkest region with the middle tones rather than making every shadow equally black. A cast shadow anchors the feet, and a soft transition across the flank can suggest rounded form. A kneaded eraser can lift a narrow highlight without cutting a hard white stripe through the graphite.
Fur follows the body beneath it. Short strokes around a muzzle radiate differently from the longer strands along a neck or tail. Group the marks into patches, varying pressure and leaving quiet areas where the coat catches light. Convincing fur in animal pencil drawings depends on those changes of direction and value; a uniform fringe around the outline flattens the form.
Decide What to Finish
In finished animal pencil art, the eye often deserves the sharpest edge and strongest contrast. A small highlight against the dark pupil can give it clarity, but its position must match the direction of the light. Softer edges around the far side of the body allow attention to settle on the face without requiring every patch of fur to be equally detailed. Realistic portrayals of animals often reserve crisp edges for the features closest to the viewer.
Compare the picture with the reference at arm’s length. If the pose reads clearly at that distance, refine only the areas that explain the animal’s structure or character. Realistic depictions of animals gain coherence when the darkest accents belong to the same lighting scheme and when the feet connect convincingly to the surface. Stop when added marks no longer improve those relationships.
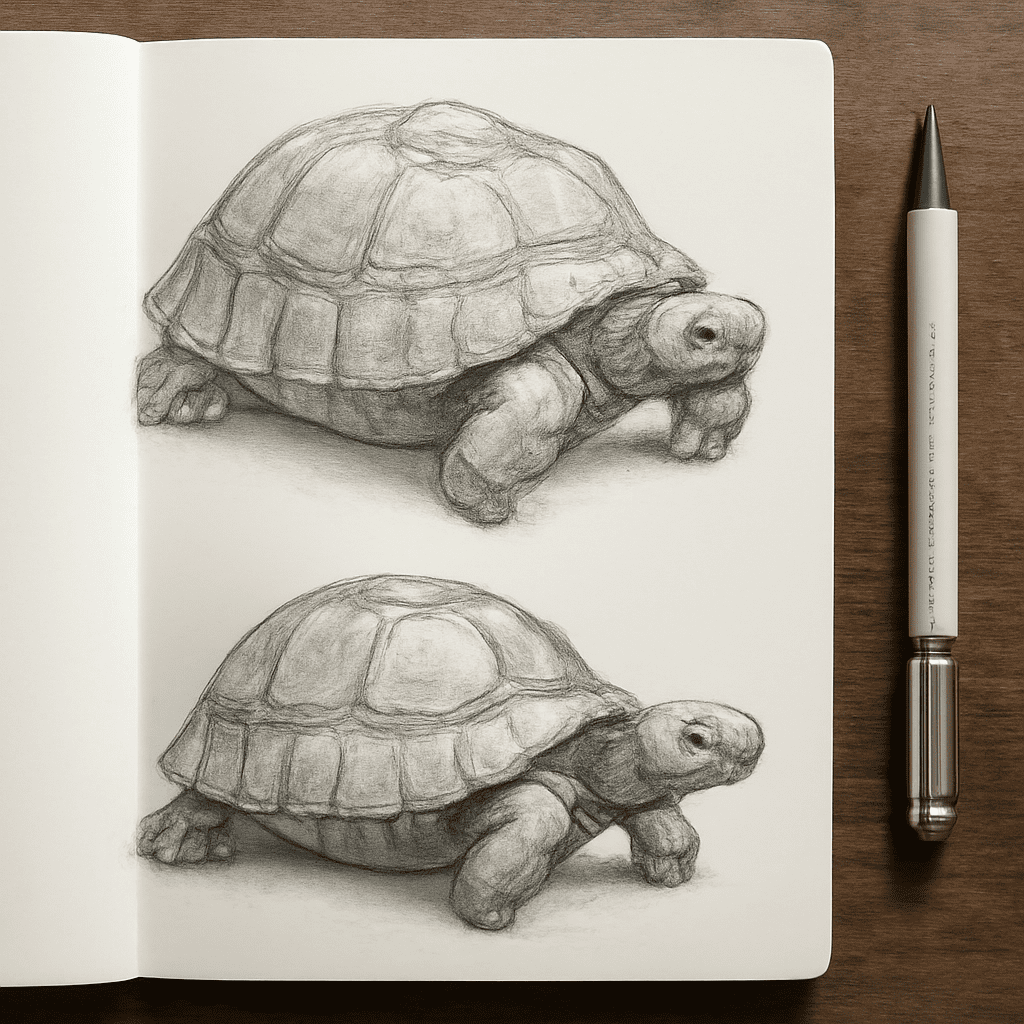
For the next drawing, choose one photograph and make two studies on the same sheet: spend a few minutes mapping the pose, then use that map to develop the head with three distinct values. Comparing the two reveals which observations carried through from the first lines to the finished surface.