Paint Strokes: A Small Exercise in Deliberate Marks
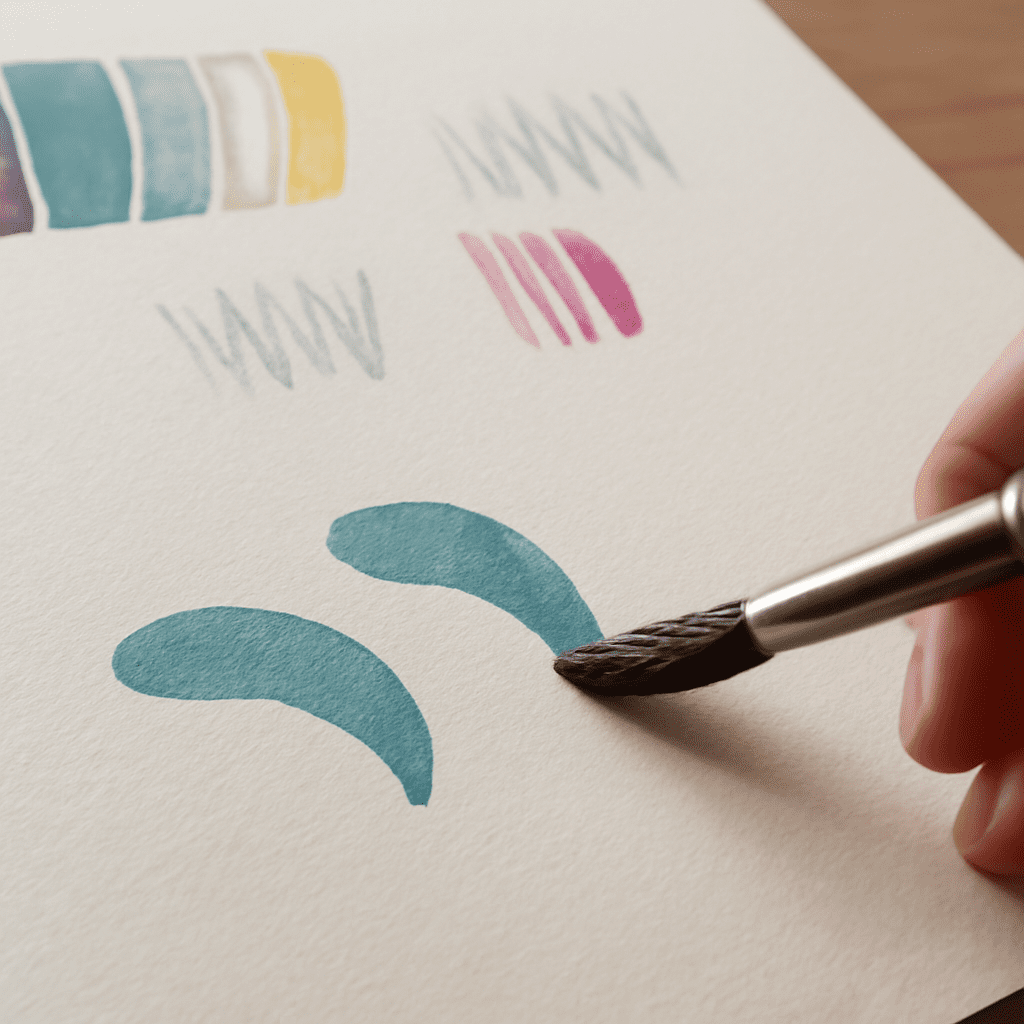
A brush loaded with acrylic can make a narrow line, a broad ribbon, or a broken trail of color without a change of paint. Learning how painted marks respond to the hand begins with a few side-by-side tests, where the movement of the brush is easy to see.
This exercise uses acrylic paint on acrylic paper and compares strokes made with a paintbrush under controlled conditions. Each row changes one feature at a time, turning a sheet of marks into a practical reference for a later painting.
Paint Brush Strokes: Prepare a test sheet
Choose an 8-by-10-inch sheet of acrylic paper, a medium flat synthetic brush, a pointed round synthetic brush, one color of heavy-body acrylic, a palette, a water container, and a cloth. A mid-to-dark color makes the differences in coverage easy to see against white paper. Tape the sheet to a board if it curls, and draw four loose horizontal bands in pencil for pressure, direction, paint load, and brush shape.
Put a small amount of paint on the palette. Dampen the flat brush, blot it on the cloth so it is moist rather than dripping, and pick up enough paint to coat the tips. For a fair comparison, begin each pair of marks with a similarly loaded brush and use roughly the same distance across the paper. Leave space between marks so their edges remain visible.
Change pressure
In the first band, place the narrow edge of the flat brush on the sheet and pull it steadily for about three inches with light pressure. Reload, then repeat beside it while pressing enough to spread the bristles. The second mark should be wider, with more of the brush in contact with the paper. Ease off at the end of a third mark and watch the width narrow as the bristles lift.
These paint strokes are a simple way to see pressure as a gradual control. A leaf, for example, can begin at a point, broaden as the brush presses down, and taper as it rises. If the bristles splay so far that the edge becomes ragged, reduce pressure and keep the handle at a comfortable angle.
Turn the brush and change direction
Reload the flat brush and draw one horizontal mark with its broad face against the paper. Turn it a quarter turn and make a second mark using the narrow edge. The first produces a broad band; the second makes a slimmer line from the same tool. Both paint strokes reveal the width of the edge that touches the paper. Keep the paint load and pressure similar so the difference in the paint brush strokes comes mainly from the brush’s orientation.
Next, draw a slow curve, rotating the handle gently as it travels. Where the face turns toward the direction of travel, the band changes width; where the edge leads, it narrows. Try a second curve without rotating the brush. Comparing the two shows how the direction of a stroke and the angle of its bristles can shape a ribbon, stem, or fold.
A field of painted brush marks can also suggest movement. Short slanting marks may describe grass leaning in wind, while horizontal marks can give a surface a calmer rhythm. Their meaning comes from their arrangement as well as their individual shapes.
Vary the amount of paint
In the third band, load the flat brush generously and make a stroke across the paper. It should leave a continuous band, perhaps with shallow ridges where the bristles have traveled. Without reloading, repeat alongside it. As the brush runs low, more of the paper shows through and the mark may break into a textured trail.
For another pair of brush strokes in paint, blot a lightly loaded brush on the cloth before pulling it across the sheet. Compare its broken edge with the fuller mark. A dry-looking trace can suggest the grain of a weathered board or a patch of rough ground; a loaded mark is useful where a shape needs solid color. If the paint clumps on the brush or becomes difficult to move, rinse promptly and reload with fresh paint.
Compare shapes and combine the results
Rinse the flat brush before paint dries in it, then repeat a few tests with the pointed round. Its tip can make a fine line; pressing gently brings more bristles onto the page and widens the mark. Compare those acrylic brush strokes with the square-ended bands from the flat brush. The choice of shape changes the edge before any detail is added.
To put the brush stroke techniques to work, make a small study in the last open area: use the flat brush for a broad wall, its edge for a narrow frame, and the round brush for a curved stem in front. The painting strokes can remain visible as evidence of the direction and pressure used. A small exercise in techniques for brush strokes gives each choice a purpose within one image.
Step back and look for unintended gaps in a solid shape or a line that becomes wider than planned. Gaps often signal too little paint on the brush; reload and make a fresh, continuous pass. If the line spreads, lighten the pressure or turn the flat brush onto its narrow edge, then test the adjustment in a clear space before returning to the study. Rinse both brushes with water and clean them before the acrylic dries.