Create Your Own Dinosaur Crochet Pattern: A Step-by-Step Guide
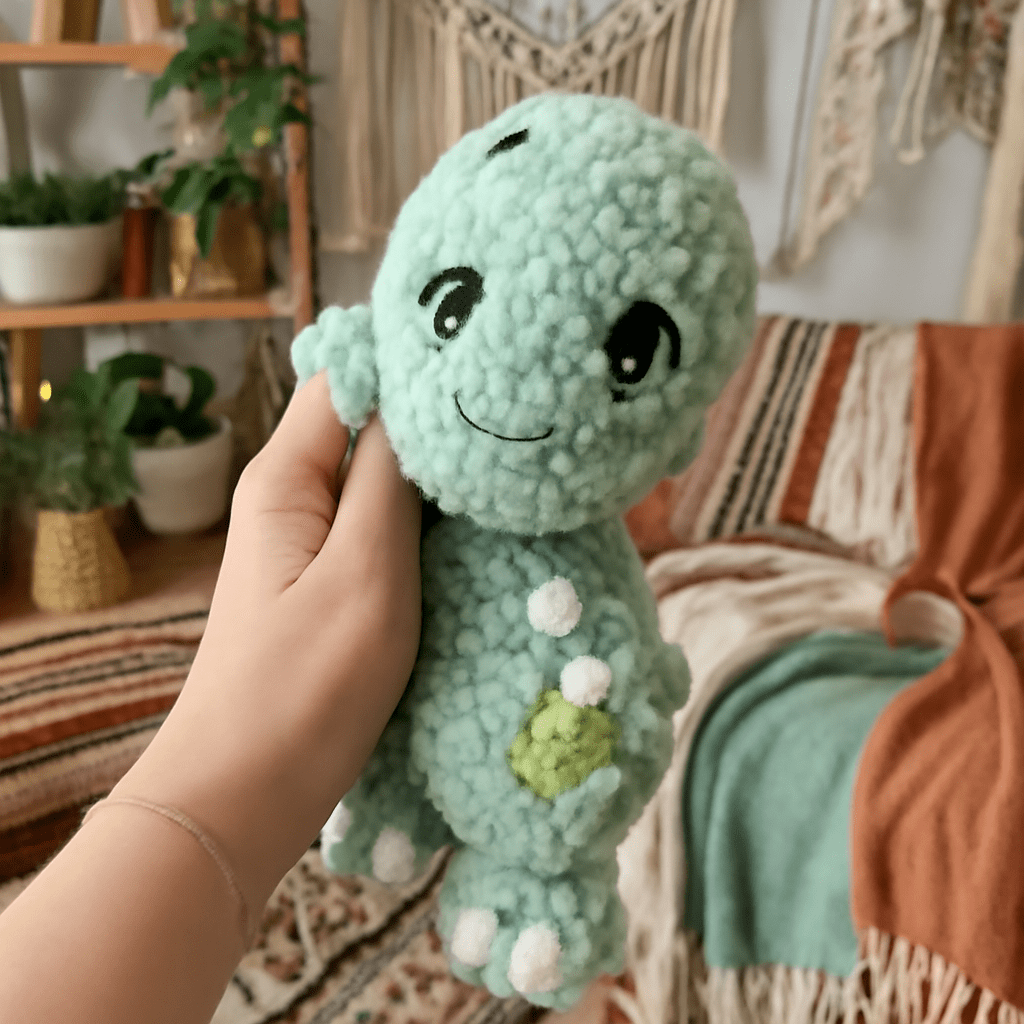
Crocheting a dinosaur can be a fun and rewarding project for both beginners and experienced crafters. Whether you’re a fan of dinosaurs or looking to create a unique gift, this step-by-step guide will walk you through the process of creating your very own dinosaur crochet pattern. We’ll cover the materials you’ll need, the detailed steps to follow, and some insider tips for creating the perfect dinosaur amigurumi. Let’s get started!
Materials Needed for Dinosaur Crochet
Before you begin your dinosaur crochet project, make sure you have all the necessary materials on hand. Here’s a list of items you’ll need:
- Yarn: Choose a yarn that is soft and easy to work with. Acrylic yarn is a popular choice for amigurumi projects. You can select a variety of colors for different parts of the dinosaur.
- Crochet Hook: Typically, a 3.5mm or 4.0mm hook is suitable for amigurumi. Adjust your hook size based on the yarn thickness.
- Stuffing: Use polyester fiberfill to stuff your dinosaur and give it shape.
- Stitch Markers: These will help you keep track of your rounds and stitches.
- Embroidery Needle: For sewing the parts together and adding features like eyes and mouth.
- Safety Eyes: Optional, but they provide a professional finish for your dinosaur’s face.
Step-by-Step Dinosaur Crochet Pattern
Follow these steps to craft your dinosaur crochet:
- Create the Body: Start with a magic ring and crochet in continuous rounds. Increase stitches gradually to form a rounded shape for the body.
Similar to the body, begin with a magic ring and increase stitches. Shape it slightly smaller than the body. - Make the Limbs: Crochet two arms and two legs. Begin each with a magic ring, then increase and decrease stitches to create a tapered shape.
- Form the Tail: Start with a small magic ring, then crochet in rounds, gradually decreasing stitches to create a pointed tail.
- Assemble the Parts: Use your embroidery needle to sew the head, limbs, and tail to the body. Ensure each part is securely fastened.
- Add Facial Features: Attach safety eyes or embroider eyes and a mouth using yarn or embroidery thread.
Tips for Creating Perfect Dinosaur Amigurumi
Here are some tips to ensure your dinosaur amigurumi turns out beautifully:
- Tension Control: Maintain consistent tension in your stitches to avoid holes and uneven sections.
- Color Choices: Experiment with different colors to give your dinosaur personality. Green, blue, and brown are popular choices.
- Detailing: Use contrasting yarn for spikes or other features to add detail and character to your dinosaur.
- Stuffing Tips: Stuff your dinosaur evenly to ensure it holds shape and stands up properly.
Common Mistakes and How to Avoid Them
Even seasoned crafters can make mistakes. Here’s what to watch out for:
- Skipping Stitches: This can lead to uneven shaping. Use stitch markers to keep track of your progress.
- Loose Parts: Ensure all sewn parts are securely attached to avoid loosening over time.
- Wrong Hook Size: Using an incorrect hook size can alter the final size and shape of your dinosaur. Choose a hook that complements your yarn.
- Inconsistent Stuffing: Avoid overstuffing or understuffing. Aim for a firm but plush feel.
With these tips and steps, you’ll be able to create a charming dinosaur amigurumi that’s sure to delight and impress. Happy crocheting!