Bead Loom Designs: How to Design and Read a Chart
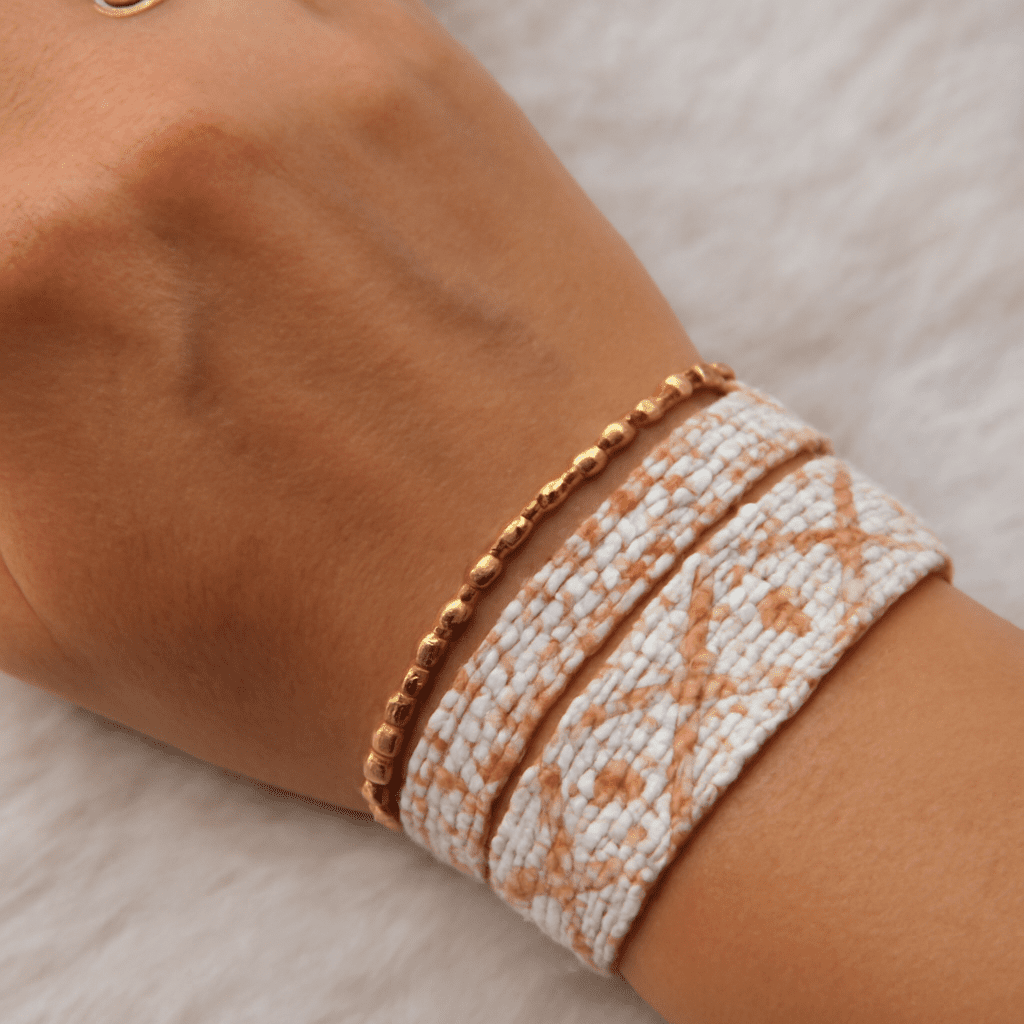
Bead loom designs become easier to plan when you treat the chart as a grid of individual beads. Decide the bead-column width first, then map each row, repeat, centerline, and color symbol before threading the loom.
The basic rule is simple: a flat loom band with N bead columns needs N + 1 warp threads. Rows run across the band, while warp threads run lengthwise. The starter charts below use original geometric motifs that you can follow directly or adapt.
Bead Loom Designs: Set the Width, Repeat, and Reading Direction
Begin with the finished width you need. A 9-column bracelet, for example, requires 10 warp threads. The number of rows controls the motif’s height, not its wearable width. For a repeating band, choose a repeat unit that fits the available columns without leaving an awkward partial motif.
- Width: Count bead columns, then add one to find the warp-thread count.
- Repeat: Mark the smallest group of columns and rows that can be copied without changing the design.
- Reading direction: Read the first chart row from left to right, then continue downward one row at a time.
- Color count: Start with two or three colors so the geometry remains easy to check.
Sketch the outline in pencil before assigning colors. For a bracelet, test the repeat across at least two units. This reveals whether a diamond joins another diamond cleanly or whether a zigzag suddenly steps out of alignment.
How Bead Loom Patterns Map to Warp Threads and Bead Columns
In bead loom patterns, each chart cell represents one bead. A vertical stack of cells represents a bead column; a horizontal line of cells represents one beaded row or weft pass. Warp threads form the spaces between adjacent bead columns, so the outermost columns sit between the first and second warp threads and between the last two threads.
For example, a chart measuring 7 columns by 5 rows uses 8 warp threads and five rows of beads. The chart’s top and bottom edges show the band’s lengthwise row sequence, while its left and right edges show how a repeated unit will meet itself.
Use short symbols instead of coloring every square while drafting. A key such as A = blue, B = cream, and C = charcoal lets you count quickly and makes resizing less confusing. Keep the chart’s orientation visible: “top to bottom, left to right” is enough for a small pattern.
Build Centered Symmetry, Color Keys, and Clean Edges
For a centered motif with an odd number of columns, draw the centerline through the middle column. Design one side, then mirror it across that line. With an even number of columns, place the centerline between the two middle columns and mirror each half across the gap.
Clean edges depend on what happens at the repeat boundary. A background color at both outer columns gives separate motifs breathing room. A pattern intended to flow continuously should have matching edge symbols: the final columns of one repeat must create the same transition as the first columns of the next.
Limit the palette to colors with clear contrast. Before weaving, inspect every row for accidental single-cell breaks, asymmetrical steps, or a center color that shifts from one row to the next.
Three Original Starter Charts for Loom Beading Patterns: Diamond, Zigzag, and Stepped Triangle
In each chart, hyphens separate columns. Read rows from top to bottom and each row from left to right. Copy the stated repeat unit horizontally unless you are adding a deliberate border.
Diamond: 9 columns × 7 rows. Key: A = cobalt, B = ivory. Repeat unit: the complete 9 × 7 chart. Reading direction: left to right, top to bottom.
Rows: B-B-B-B-A-B-B-B-B
B-B-B-A-A-A-B-B-B
B-B-A-A-A-A-A-B-B
B-A-A-A-A-A-A-A-B
B-B-A-A-A-A-A-B-B
B-B-B-A-A-A-B-B-B
B-B-B-B-A-B-B-B-B
Zigzag: 8 columns × 4 rows. Key: A = teal, B = coral. Repeat unit: the first 4 columns, repeated twice across the chart. Reading direction: left to right, top to bottom.
Rows: A-A-B-B-A-A-B-B
A-B-B-A-A-B-B-A
B-B-A-A-B-B-A-A
B-A-A-B-B-A-A-B
Stepped triangle: 11 columns × 7 rows. Key: A = forest green, B = sand. Repeat unit: the complete 11 × 7 chart. Reading direction: left to right, top to bottom.
Rows: B-B-B-B-B-A-B-B-B-B-B
B-B-B-B-A-A-A-B-B-B-B
B-B-B-A-A-A-A-A-B-B-B
B-B-A-A-A-A-A-A-A-B-B
B-A-A-A-A-A-A-A-A-A-B
B-B-A-A-A-A-A-A-A-B-B
B-B-B-A-A-A-A-A-B-B-B
Resize or Recolor a Chart Without Breaking Its Repeat
Resize by adding complete repeat units, not by stretching individual cells. The 4-column zigzag can make a 20-column band with five repeats. If you need 22 columns, add one background column to each edge rather than inserting two columns into the middle of the repeat.
Preserve symmetry by adding paired columns on opposite sides of an odd-width motif. If the original centerline is between two columns, keep it between two columns after resizing. Never add a single column to only one side unless an intentionally off-center design is wanted.
To recolor, replace every instance of one symbol consistently. For example, change every A in the diamond to red while keeping B as ivory. Do not recolor only one side of a mirrored motif. Finally, weave a short test strip containing two full repeats. A correct sample has a centered motif, matching joins, consistent edge behavior, and the intended number of bead columns.