How to Crochet a Cute Penguin Amigurumi
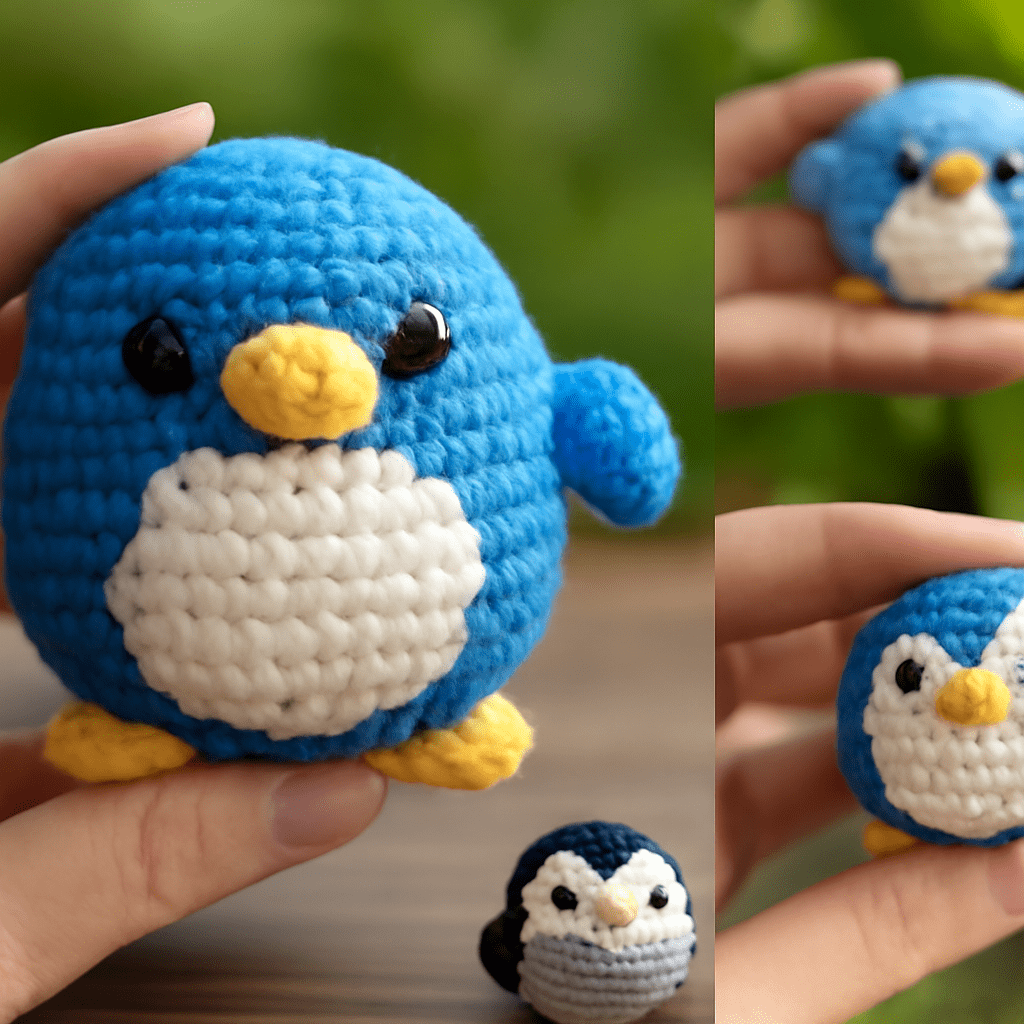
Creating an adorable crochet penguin is a delightful project for beginners and seasoned crafters alike. Using our free crochet penguin pattern, you can craft a charming amigurumi penguin with ease. This step-by-step guide will provide you with everything you need, from materials to expert tips, ensuring your crochet penguin turns out perfectly.
Materials Needed for Your Crochet Penguin
- Yarn: Choose black, white, and orange yarn in a medium weight. Acrylic or cotton yarn works well for durability and softness.
- Crochet Hook: A 3.5 mm (E) crochet hook is recommended for this pattern.
- Stuffing: Polyester fiberfill will give your penguin the right shape and firmness.
- Safety Eyes: 6 mm black safety eyes for a lively look.
- Tapestry Needle: For weaving in ends and sewing parts together.
- Stitch Marker: Useful for keeping track of your rounds.
- Scissors: For cutting yarn.
Step-by-Step Crochet Penguin Pattern
Body
- Round 1: With black yarn, make a magic ring and work 6 single crochets into the ring.
- Round 2: Increase in each stitch around (12 stitches).
- Round 3: *Single crochet in the next stitch, increase in the following stitch* repeat around (18 stitches).
- Continue increasing similarly until you reach 48 stitches.
- Work even rounds until the body measures approximately 5 inches tall.
- Fasten off and stuff the body firmly with fiberfill.
Head
- Round 1: With white yarn, make a magic ring and work 6 single crochets.
- Follow the same increasing pattern as the body, ending with 36 stitches.
- Attach safety eyes between rounds 6 and 7, 4 stitches apart.
- Continue working even rounds until you have a rounded head shape.
- Fasten off, leaving a long tail for sewing to the body.
Wings
- Round 1: With black yarn, make a magic ring and work 6 single crochets.
- Increase to 12 stitches in the second round.
- Work even rounds until the wing measures approximately 2 inches.
- Fasten off and make a second wing.
Beak
- Round 1: With orange yarn, chain 2 and work 3 single crochets in the second chain from hook.
- Work a single crochet in each stitch for the second row.
- Fasten off, leaving a tail for sewing onto the head.
Assembly
- Use the tapestry needle to sew the head onto the body.
- Attach the wings to each side of the body and secure them well.
- Sew the beak onto the front of the head, right below the eyes.
Tips for Perfecting Your Amigurumi Penguin
- Even Stitches: Keep your tension consistent for a smooth finish.
- Proper Stuffing: Stuff firmly but avoid overstuffing to prevent gaps.
- Secure Attachments: Ensure all parts are sewn on securely to withstand play.
Common Mistakes and How to Avoid Them
- Skipping Rounds: Use a stitch marker to keep track and avoid skipping rounds.
- Uneven Eyes: Measure the placement carefully to ensure symmetry.
- Loose Ends: Weave in all yarn ends securely to prevent unraveling.
By following this detailed guide, you’ll be able to create a delightful crochet penguin that’s perfect for gifting or adding to your amigurumi collection. Enjoy crafting your charming penguin and exploring the creative possibilities of these adorable creatures!